Richard Stum’s randonneur cycling, rando skiing & SUP site. @rando_richard
Author: Rando Richard
I’m an old guy (age 69 in 2023) who enjoys aerobic, endurance sports. I call myself a cardio-junkie. Perhaps the more appropriate term would be “ultra” endurance sports. Since I was a teenager I have always enjoyed “slow twitch” outdoor sports like backpacking, ice climbing, running, mountaineering, hiking, alpine skiing and randonnée skiing (alpine touring, backcountry skiing or skimo). In 2005 I starting running with more regularity — except this time it was not for the intent of getting ready for a mountaineering trip, but as an end to itself. From 2005 to 2007 I managed to eek out two seasons of ultramarathons — that is competitive trail runs up to 50 or 100 miles. Due to a nagging ankle injury from the 80s (an accident while ice climbing in the 1980s where my lower tib and fib were badly broken), I had to cease that grueling, but rewarding activity. I then migrated into ultra distance road cycling or randonneuring. The rides are called brevets (pronounced bruh-VAY, it’s French) and are minimally supported — they are similar to ultrarunning and backpacking where one must be self reliant. Although brevets are non-competitive, they do have have cut off times to qualify as a finisher. They are usually are done in groups, which can have a competitive slant to them. Today, I continue to participate in long distance cycling including some ultra-racing, randonnée skiing (a blend of cross country and downhill disciplines) and still get out on an occasional mountaineering trip.
Since 1996 I have been designing, manufacturing and selling camera bags. That is Kinesis Photo Gear (kgear.com). In 2005 I started selling cycling bags under the Kinesis label and eventually expanded it to including other sports like SUP (stand-up paddle boarding and some skimo). Consequently, it become eoGEAR — the “eo” stands for endurance outdoor.
My wife and I are empty-nesters now and we live and work out in the boondocks of central Utah, half way between Salt Lake City (great powder) and Moab (great red rocks).
Well, I guess that is all for now. Safe travels mate! Perhaps I’ll see you on the road or trail.
— Richard Stum
Beginning of the day. Board with PFD attached on the very front, a dry bag with supplies (mostly water or Cytomax) & an extra paddle for kayak style use (in case the winds get out of control).
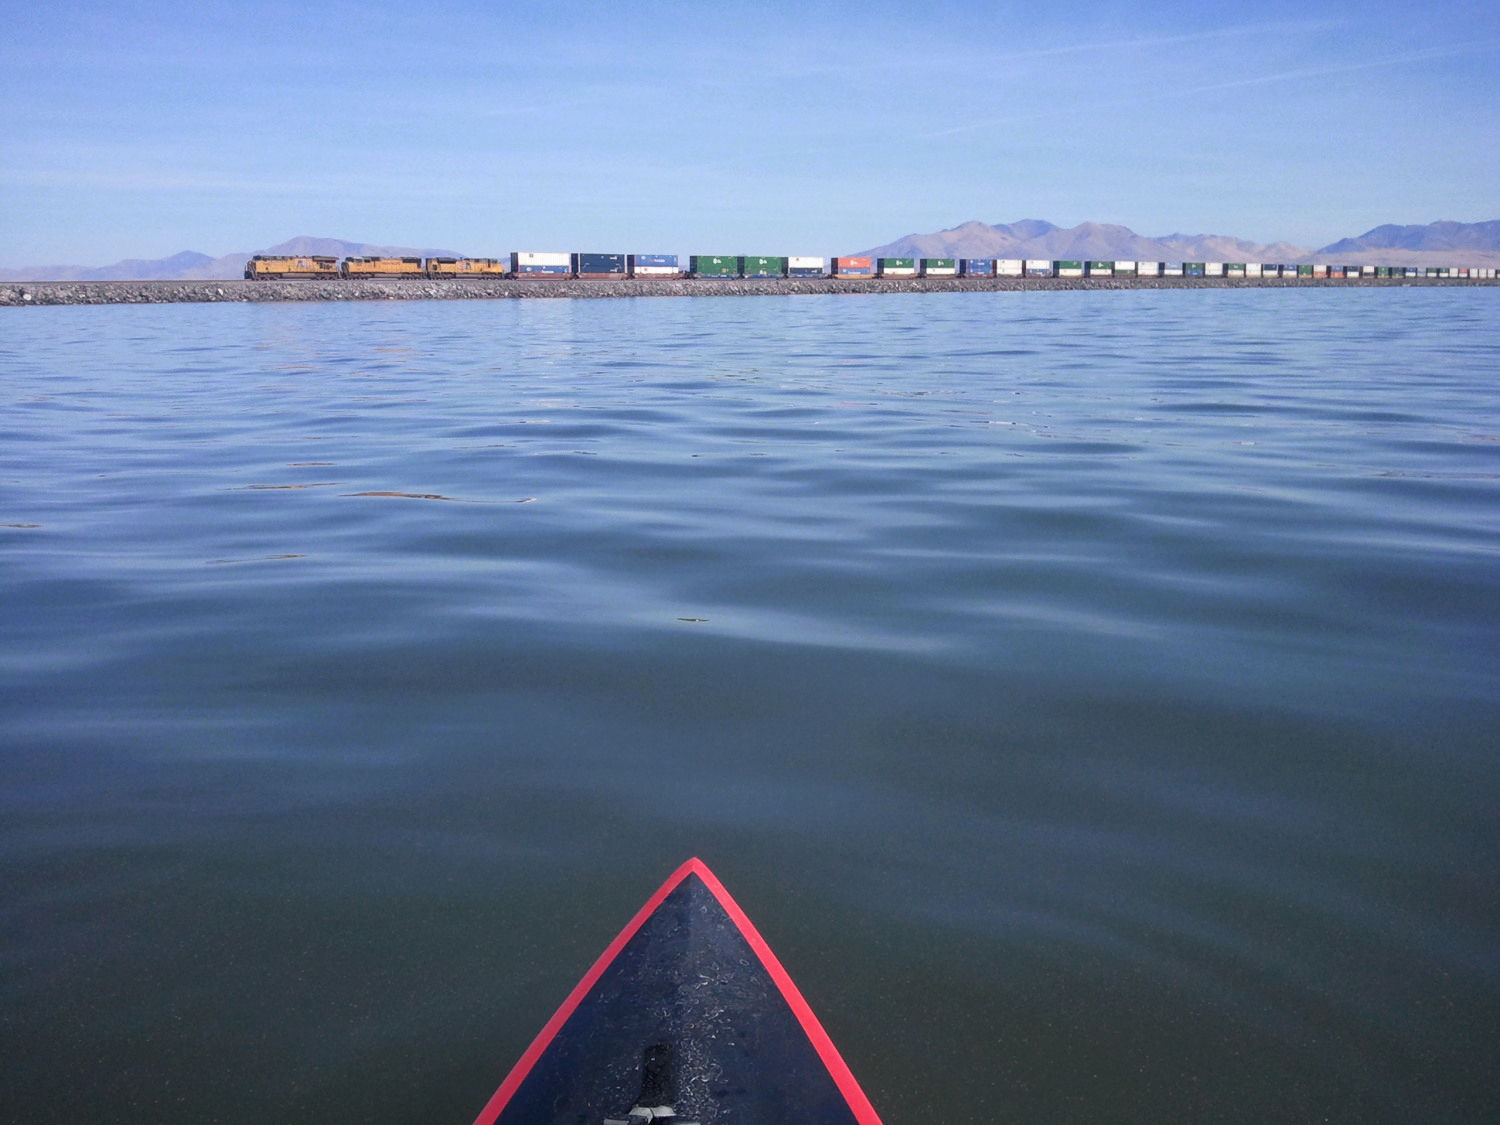
Paddling out into the wild blue yonder.
Freight train on the causeway.
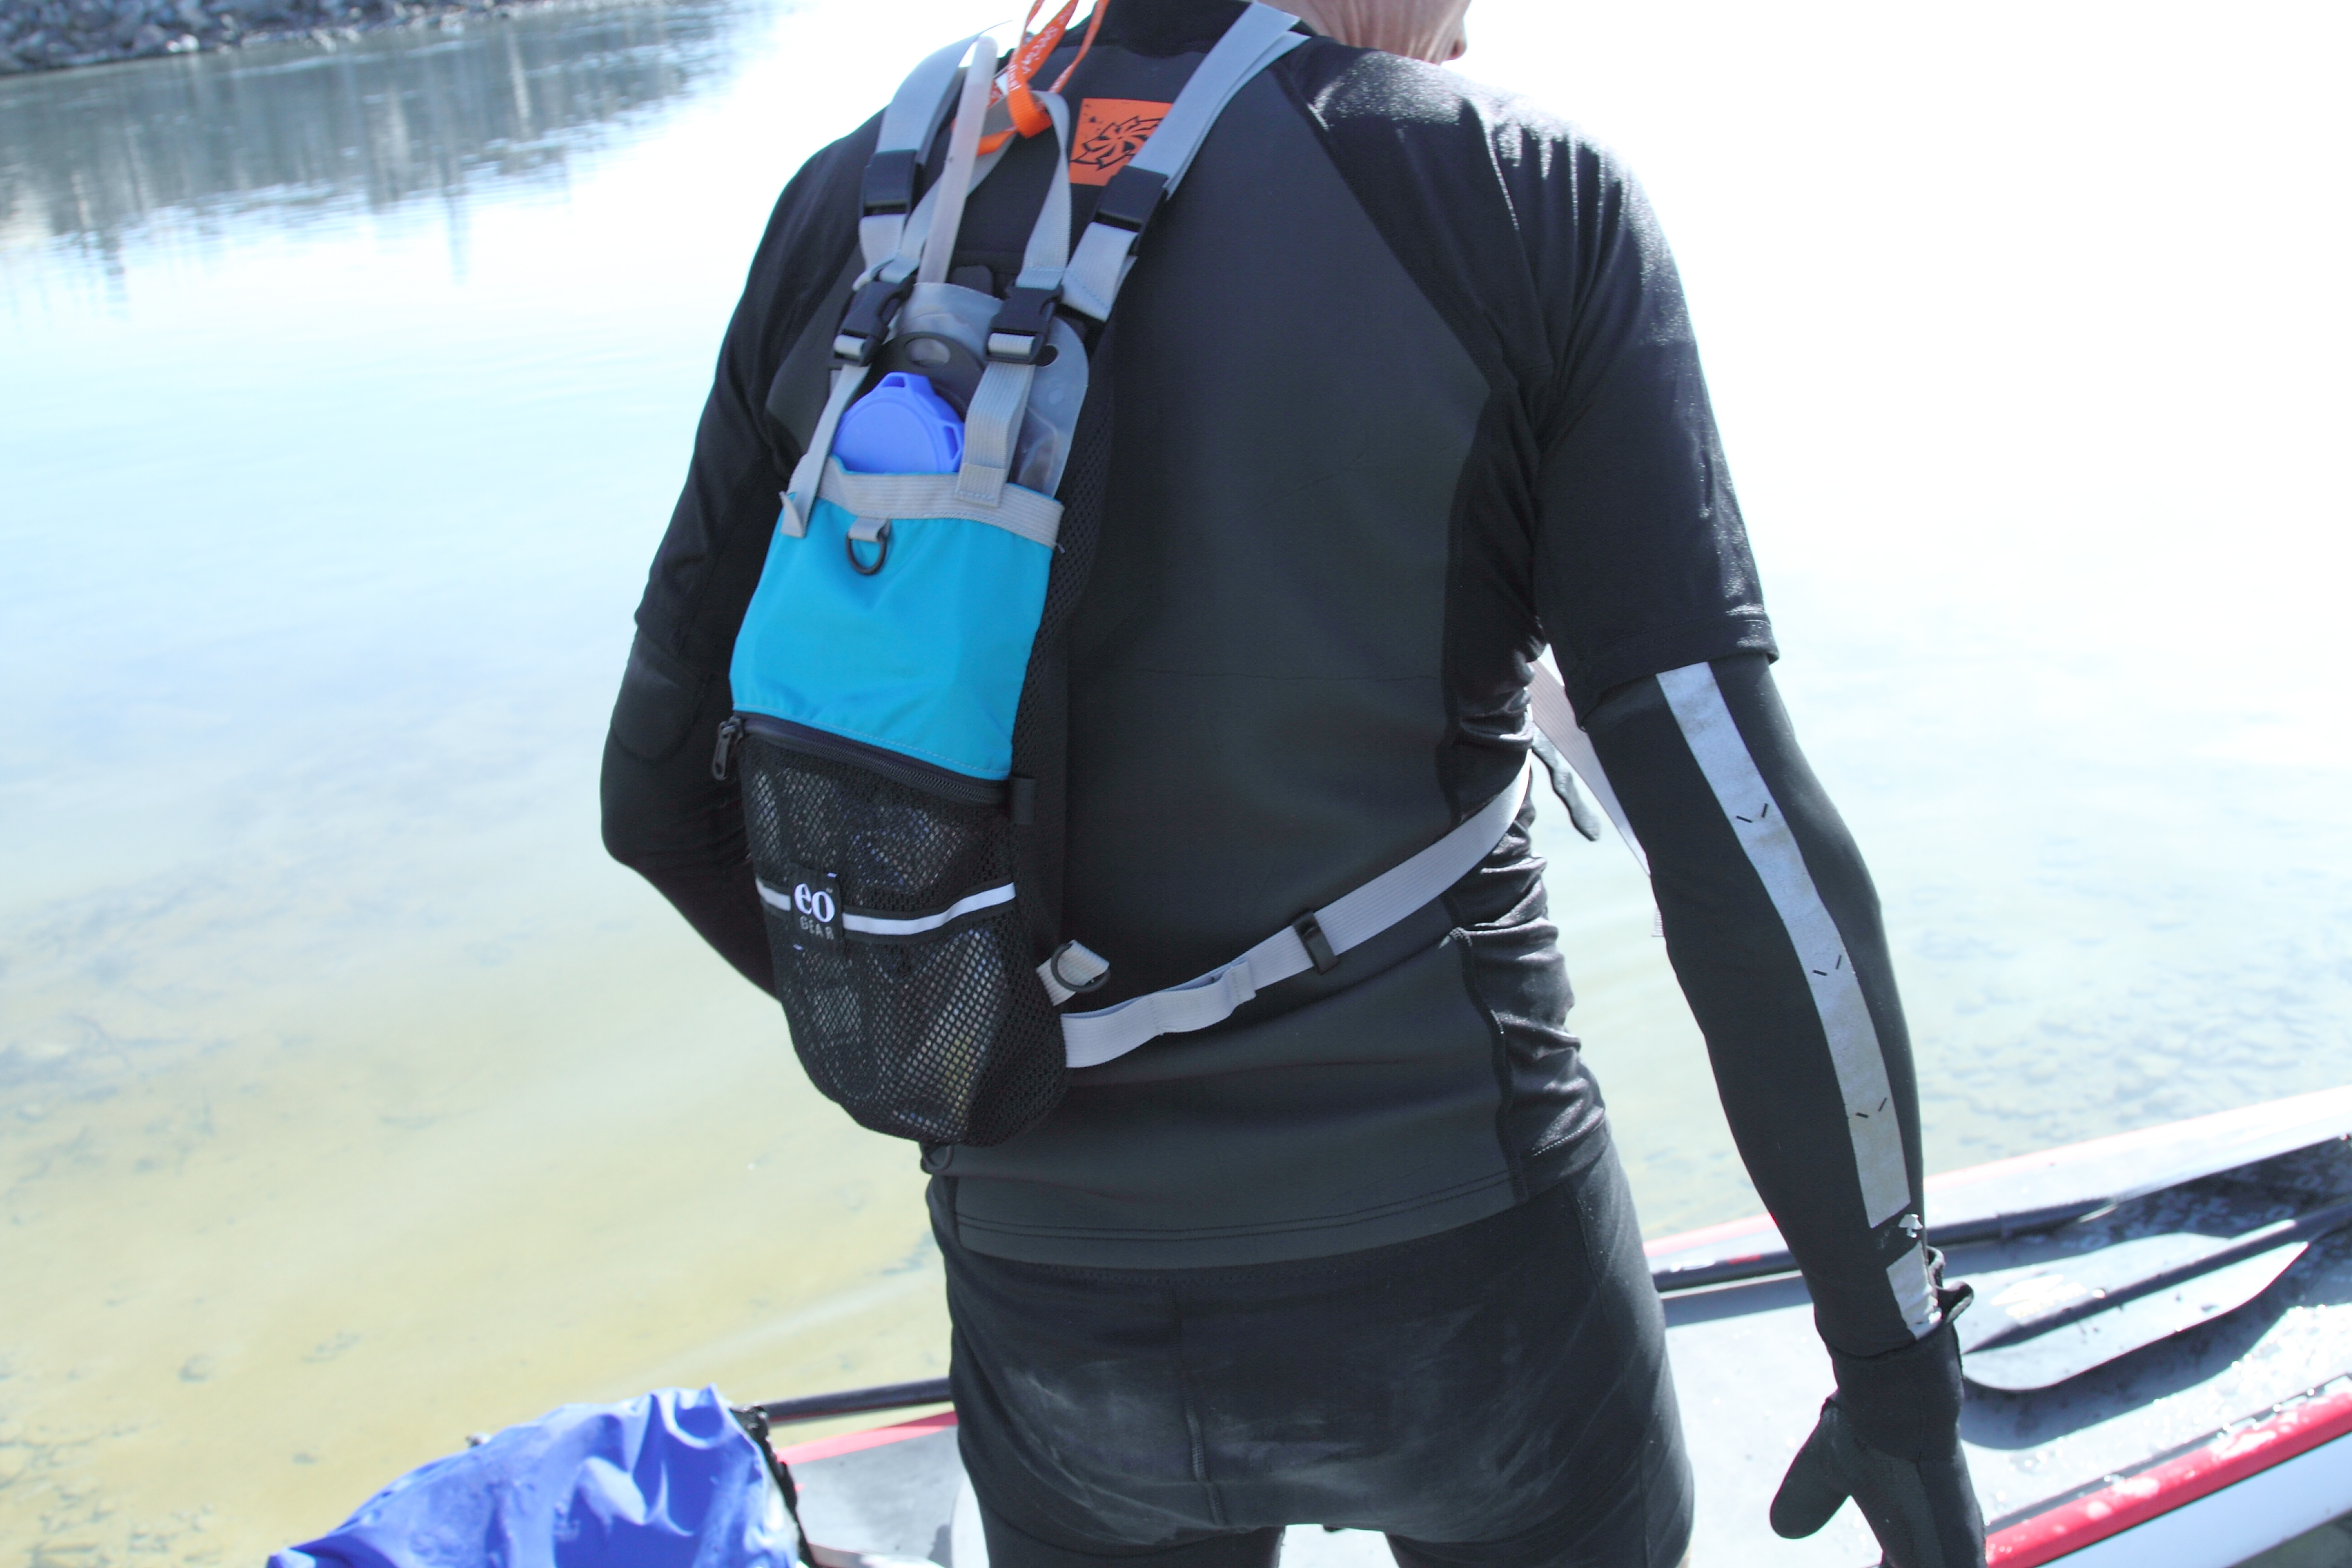
Close up of eoGEAR prototype hydration pack.
Shallow, but clear waters near Promontory Point. This was my favorite part of the journey. It was so shallow, despite being some 200+ yds off shore, that I had to step off the board and drag it out into deeper waters.
Self portrait during a lunch break.
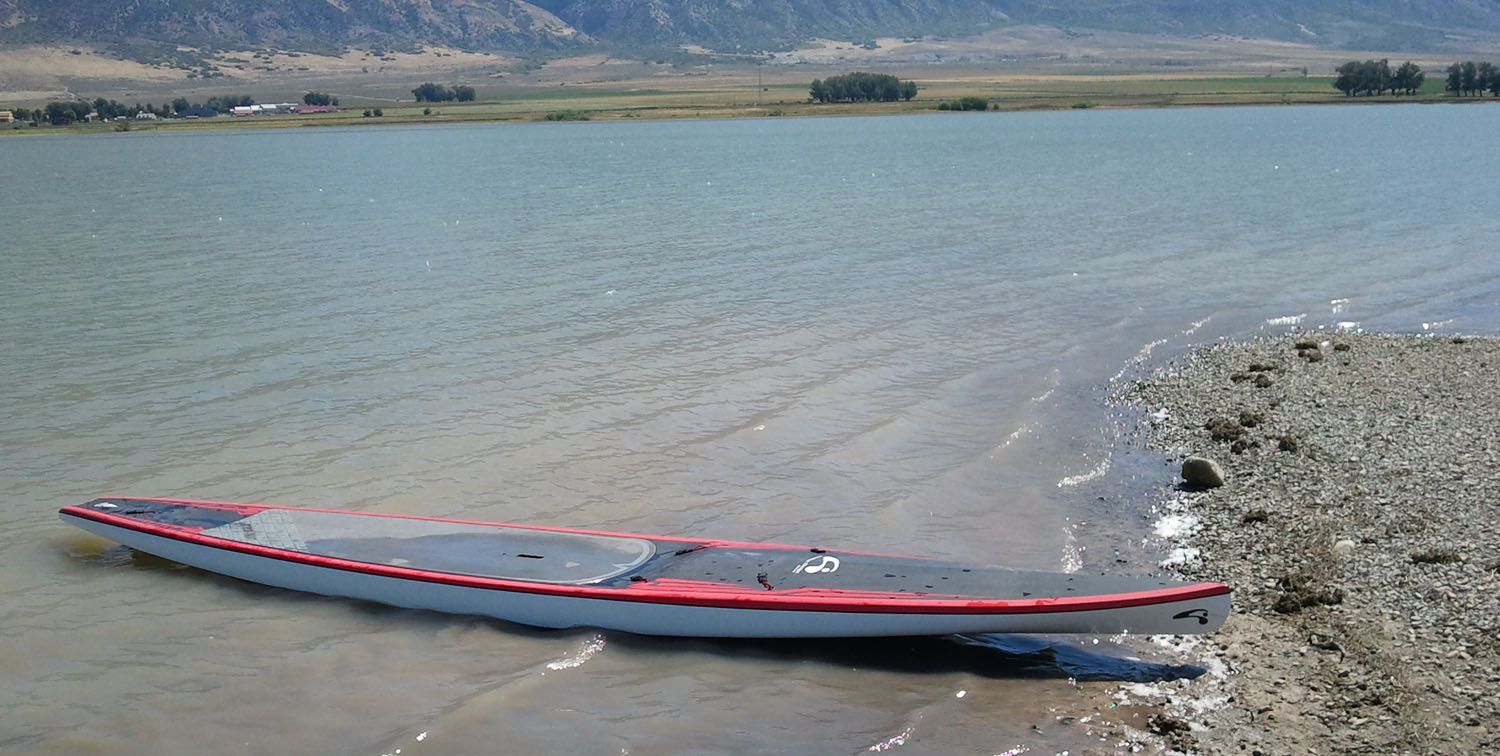
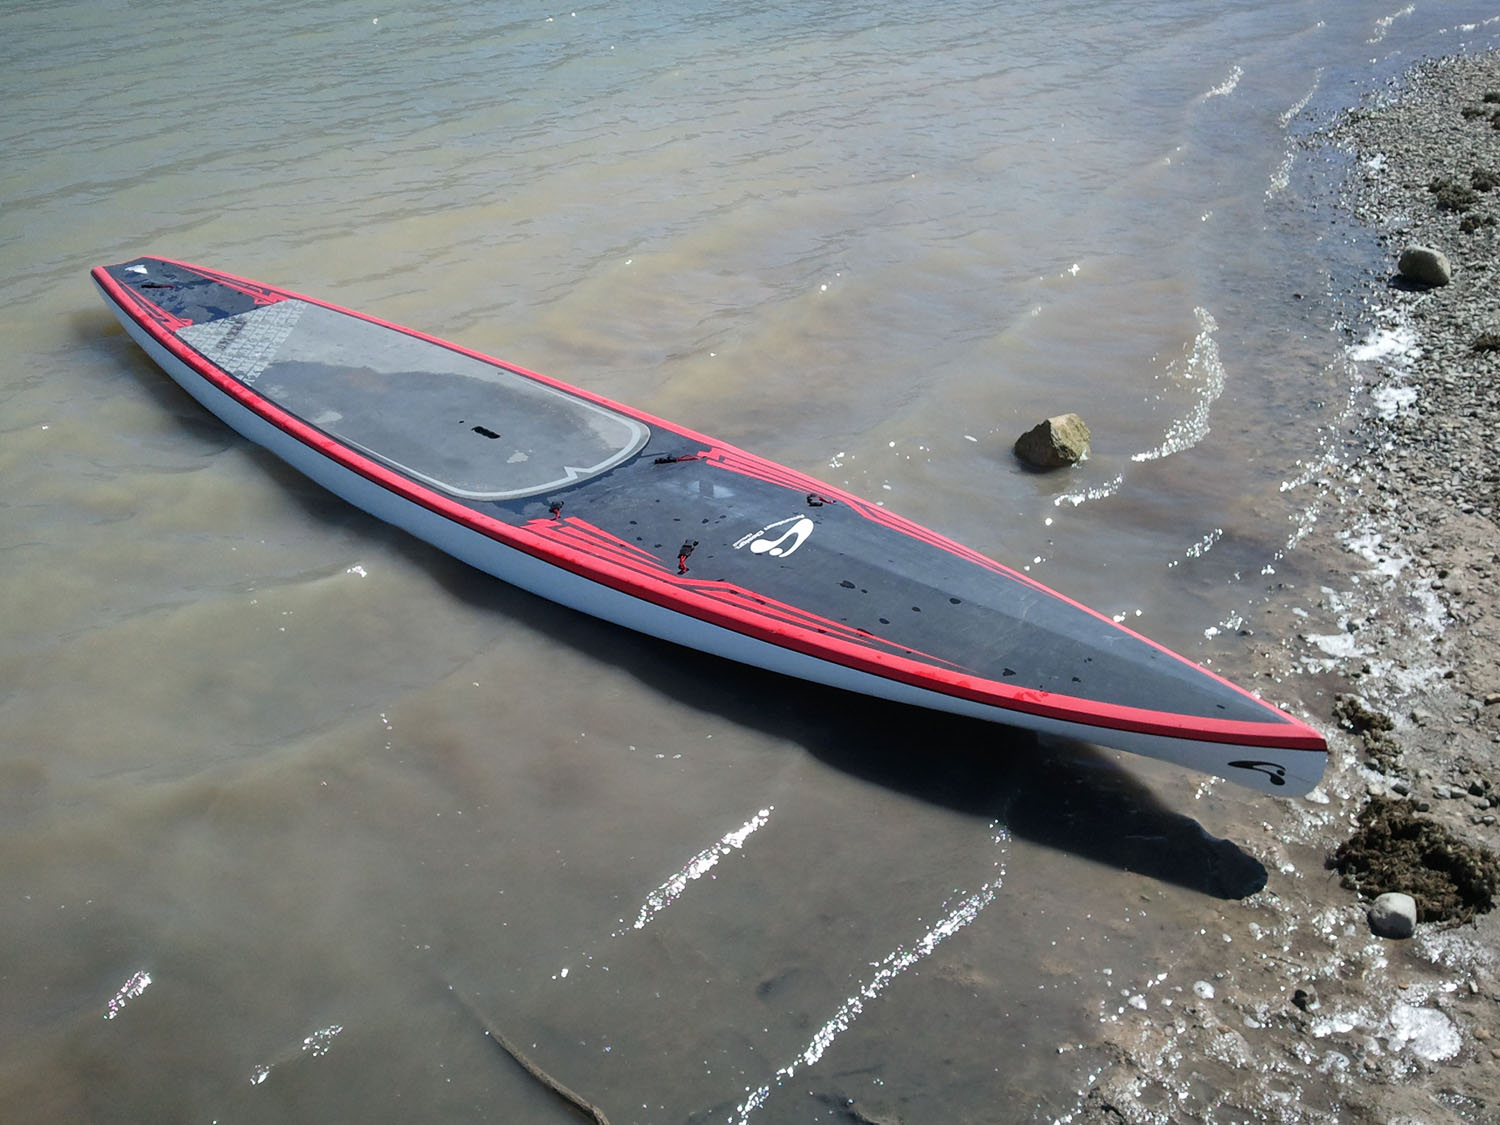
Board near Promontory Point
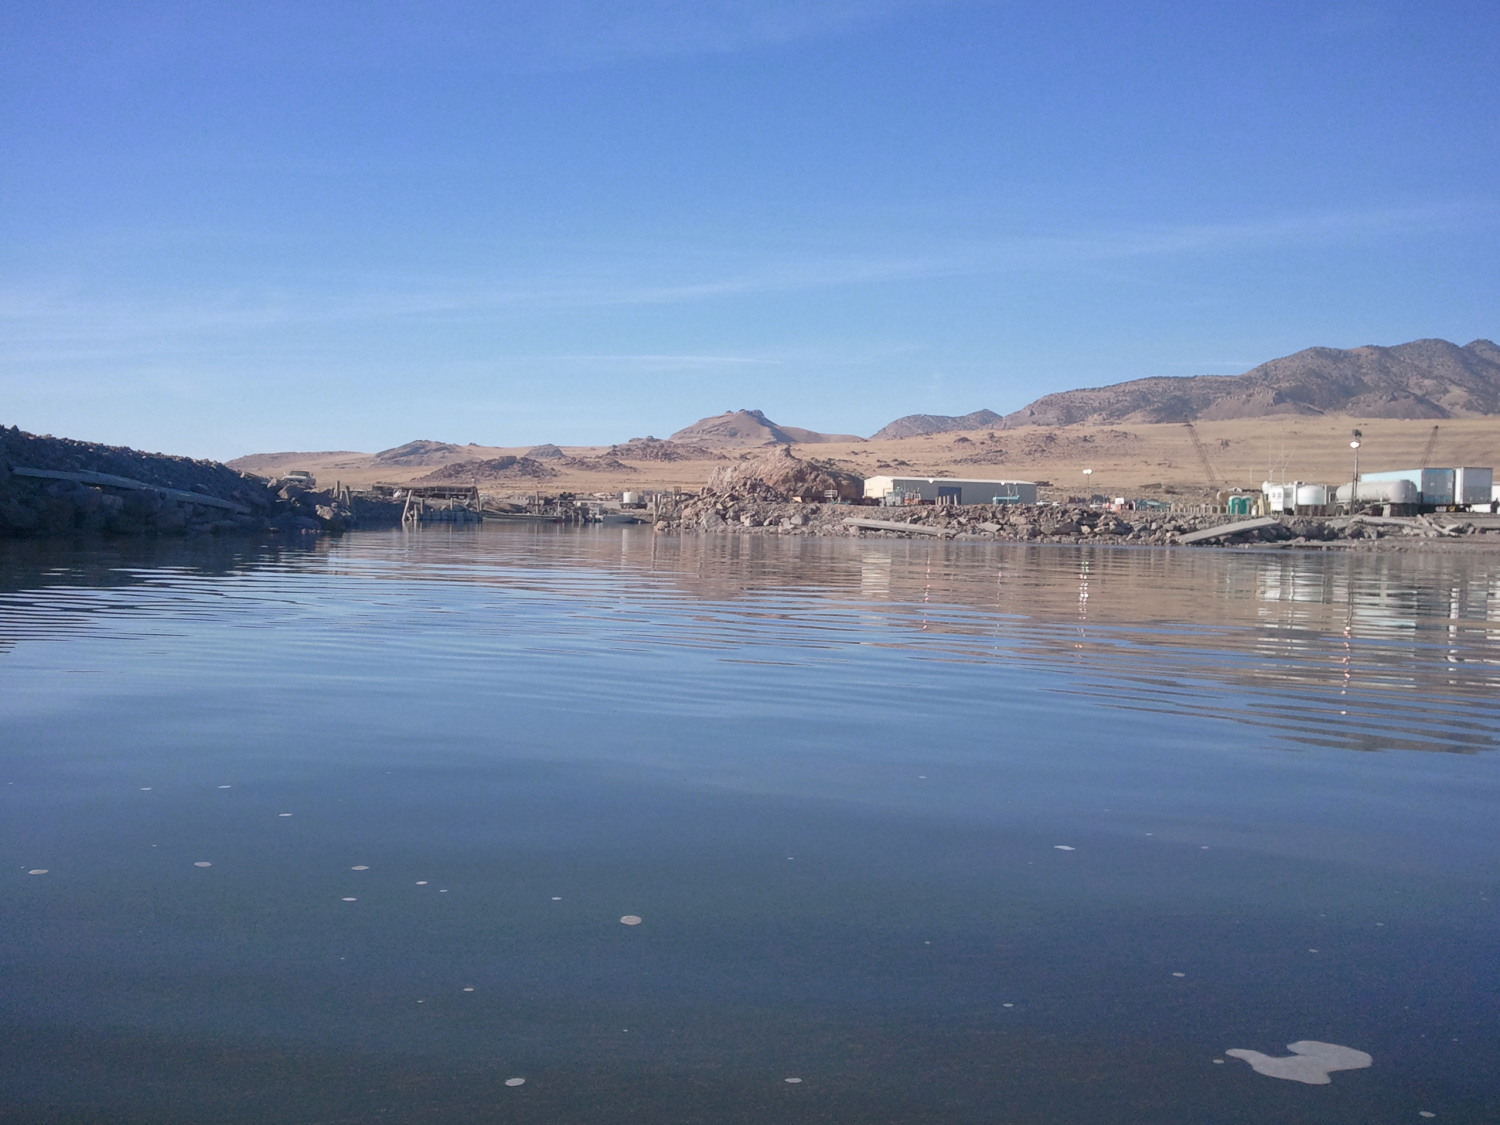
Shrimpers Harbor near the point. Nice looking place, huh?
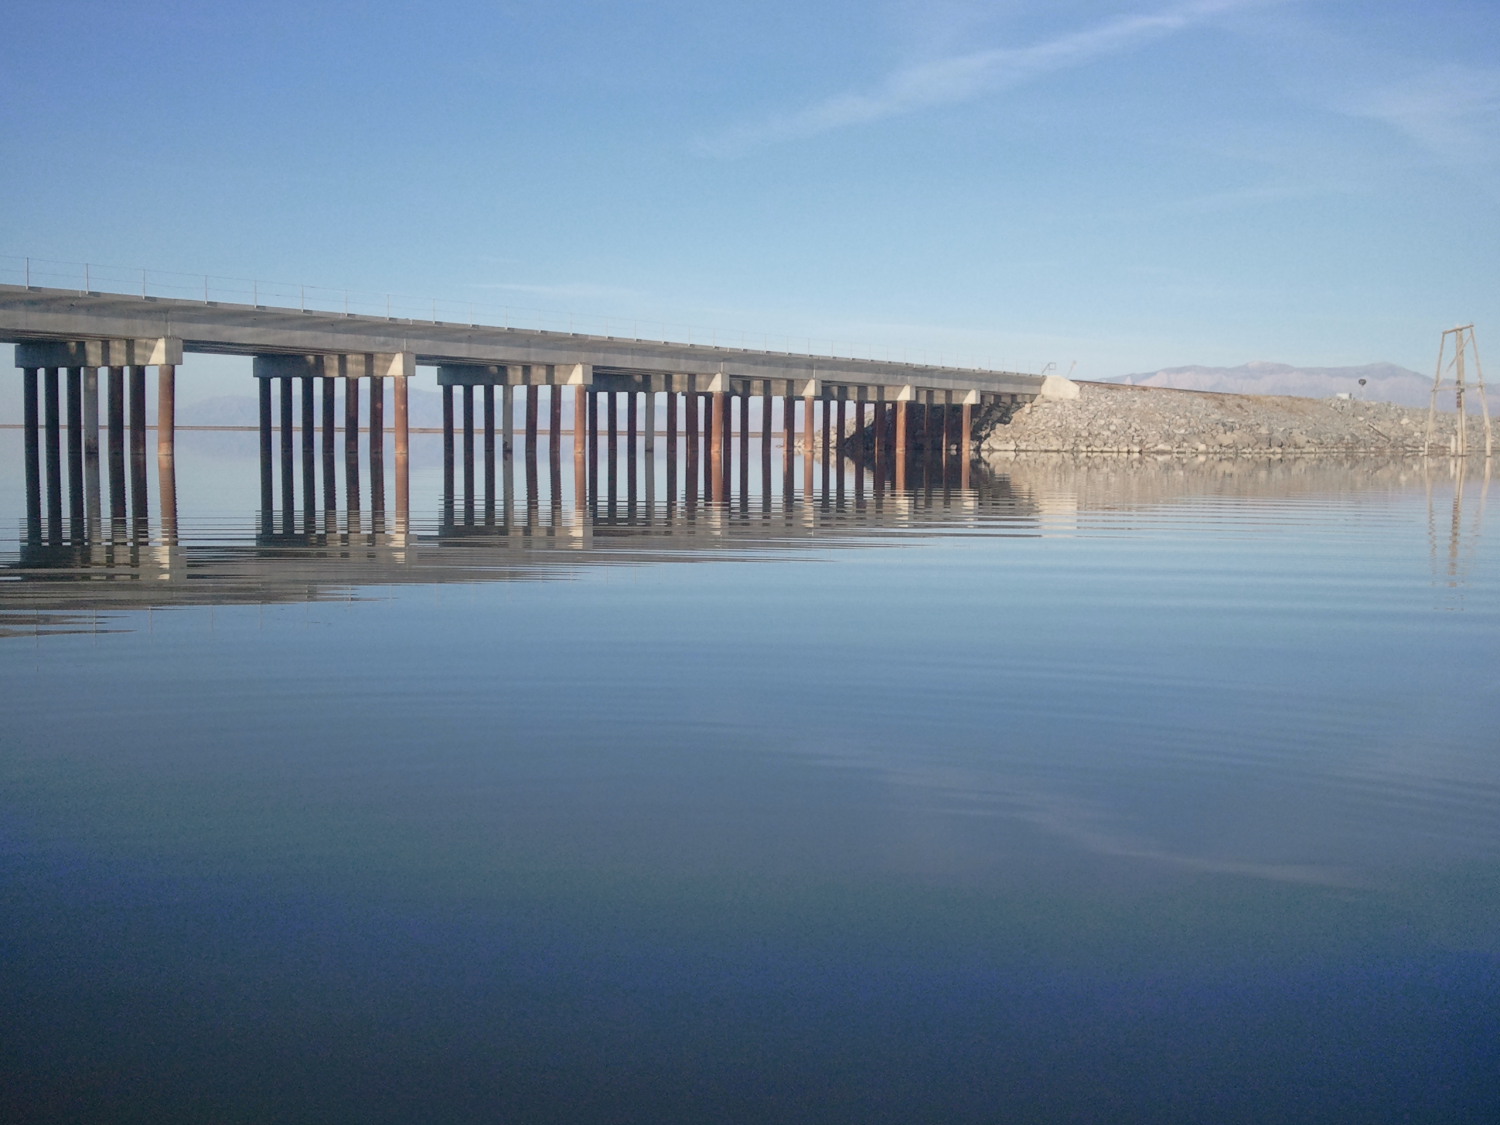
Approaching the finish. The reflections indicate what a nice, windless day it was.
Closer in shot of the Bear River Bridge, which I passed under to complete this tour.
Sunset after finally attaching the board to the car, ready to head home.
Salt soaked gear. I wore a light neoprene outfit because of the cool (64F) water temps this time of year.
Here is GPS upload to Strava.com.
On October 9th, 2012 I did a crossing of the width of the Great Salt Lake on a stand-up paddle board. It was my understanding that this was the first-ever crossing of the lake via SUP, but I have been told since then, that other groups have done it previously (although I have not seen any GPS downloads or blog reports confirming it). Perhaps this was the first ever solo, unsupported crossing. I did this 28 mile starting just after 10 a.m. The ambient temps during the day ranged from about 50F to 68F with a water temperature of 62F. I specifically picked this day as the forecast had a wind of only 6 MPH in the morning decreasing to 1 or 2 MPH by the afternoon — perfect conditions for a safe trip on such a body of water. My moving time was 6:54 for a total travel time of about 7:41. I traveled from the west near the railroad causeway, which crosses this lake in a east/west direction. This was for safety, so that if there were any issues, I could paddle towards it and latch on. This time of year, I went about as far east as I could go before running into the dreaded biotherms or before hitting very shallow waters and unable to paddle any further. In fact, the last three of four miles, I had to stand forward on my board while paddling as my rear fin was dragging on the bottom of the lake!
Here’s a link to an online map with my planned route. My actual mileage was bout 7/10s of a mile longer, probably due to my uneven path while paddling. This is a Strava upload of my trip.
Next up, a south or north crossing? That would be a 75-mile adventure. Hmmm, that would be one long day and part of a night.
Many thanks to Dave Shearer, the harbor master for his advice on access and conditions and to my daughter Rosemary for making rather long shuttle required for this effort.
Gear notes:
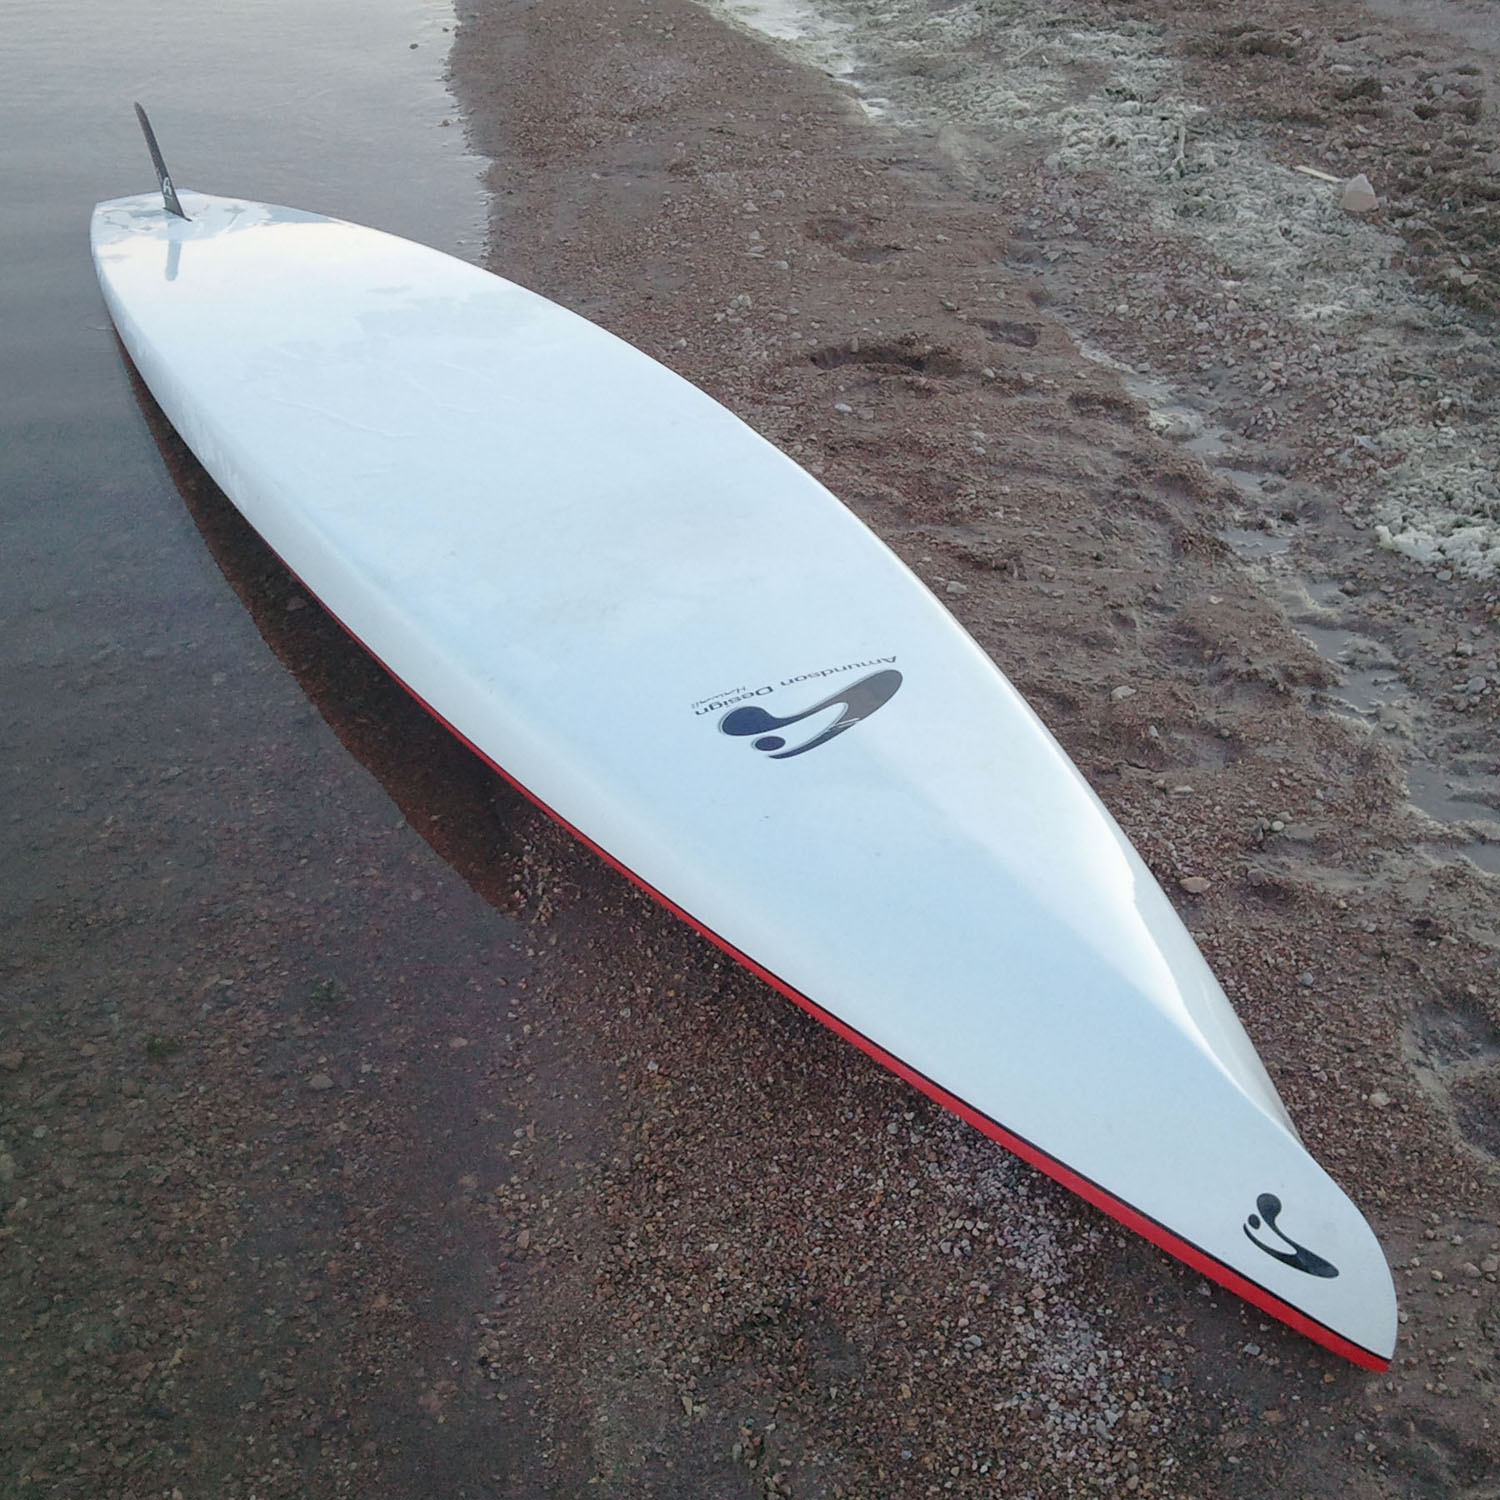
> My board was a 14’0″ x 28″ carbon fiber Admundson TR-X with a Surftech carbon fiber SUP paddle (their so-called small-size blade). I have since then replaced this board with a better “flat water” unit, that has less rocker. My back-up paddle was a “clunky kayak” Cairsle.
> I was testing a new SUP-specific hydration backpack which I’m designing for release next spring (eoGEAR Inc.). In it I used a 2-liter bladder and later switched out to a 1.5-liter bladder after I consumed the first one. Both were filled with Cytomax. In my dry bag I also had a liter of Hammer Perpeteum and two liters of water. I had way more fluids that I needed.
> The other product I was testing was a tie-down system for gear. They are designed with quick-release buckles which secured a Seattle Sports wide mouth dry bag and also my PFD.
> I was also testing a rough prototype of a device to hold a watch style GPS to the board for use in navigating. Half way through the paddle, I switched, mounting it my chest pouch.
Postscript: Today (30 Oct 2012) I did a “radio” interview on SUP Radio, which is now available as a Podcast.
After purchasing a 12′ 6″ board, I knew that for any long distance stand-up I would need a fourteen footer. In August I rode several models at the Outdoor Retailer show and decided that the 27-inch wide boards were just a little too unstable for multi-hour touring. (This was also confirmed my several of the manufactures as they discouraged me from considering their narrow race boards for touring). They work fine for a short races, but trying to stay upright in variable conditions for hours on end seemed too difficult.
I was attracted to this board for the foll0wing reasons:
It was lighter in weight due to the carbon construction
It had built-in deck inserts for gear tie downs
It was more stable with it’s 28-inch width than other narrower models
It had a displacement-like or “canoe style” nose
And although this is a minor point…I got special trade pricing direct through the manufacturer.
I have only used the board about three times now. My first experience was dreadful as I had very choppy conditions with winds approaching perhaps 15 MPH. Going straight into the wind, or in a downwinder direction was OK, but the minute I turned cross wind, I had a difficult time staying upright in the 1-foot+ waves.
Later tests proved that this board is about 9% faster than my 12’6″ board. Last week, I did a 19-mile Utah Lake “double crossing,” averaging about 4.7 MPH for this multi-hour paddle in decent (nearly wind free) conditions. My average multi-hour speed on the shorter board was 4.3 MPH in similar conditions. Unlike my shorter board, this board drains much better as little water accumulated on the deck. It is called a “TR” board as it is classified as a Tour/Race board.
This brand is not noted for their “race” pedigree as most of their current line of SUP boards appear to be for recreation use. But then…I was not looking for a fast touring board, not a so-called race board, so I figured that their designs would be OK for my needs. This board has a list price of about $2,100. It included a breather hole with a large Phillips screw (instead of a breathable “GoreTex” type membrane as found on some boards). It has a rated volume of 275 liters and is sold as a 7-1/4″ thick board, but overall it appears much thinner than this. The claimed weight is 27 pounds.
Our start was near the restrooms on the north side of the Nebo Loop, a few miles from the junction at Salt Creek Canyon.
This is what is referred to as “Open Range” in Utah. Nebo in the background. My bike looked like $%&* when I was done, due to the many cow pies I road through!
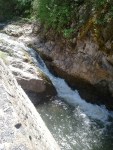
Stream next to the road on the ascent up the north side.
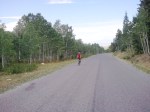
Brian in suffer mode, heading up the north side on “lap two.”
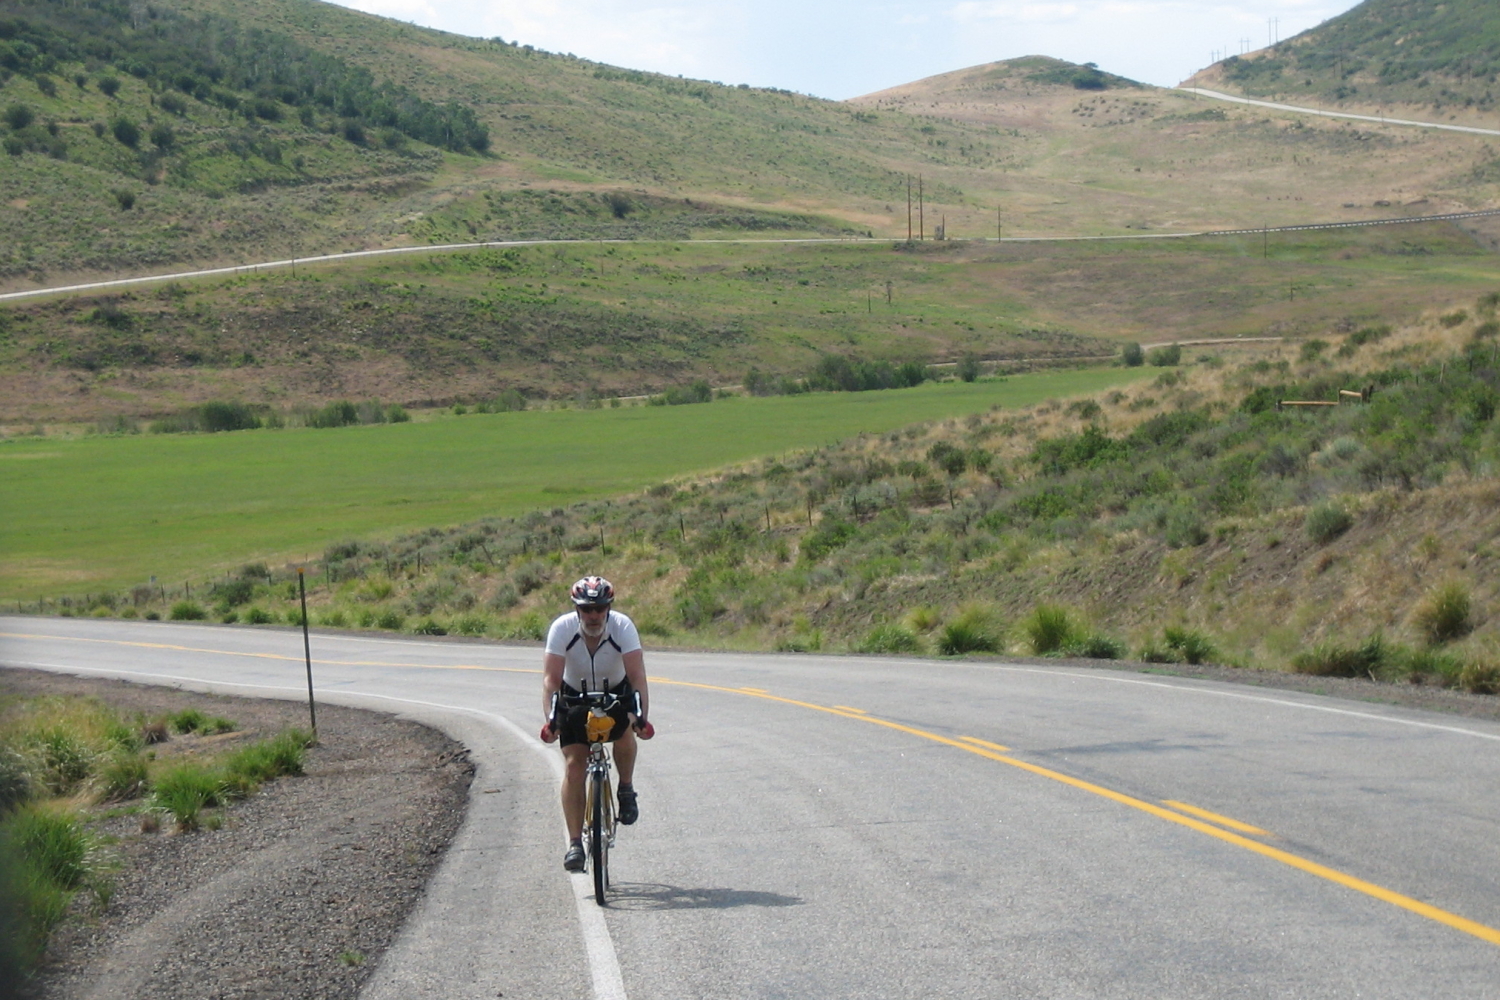
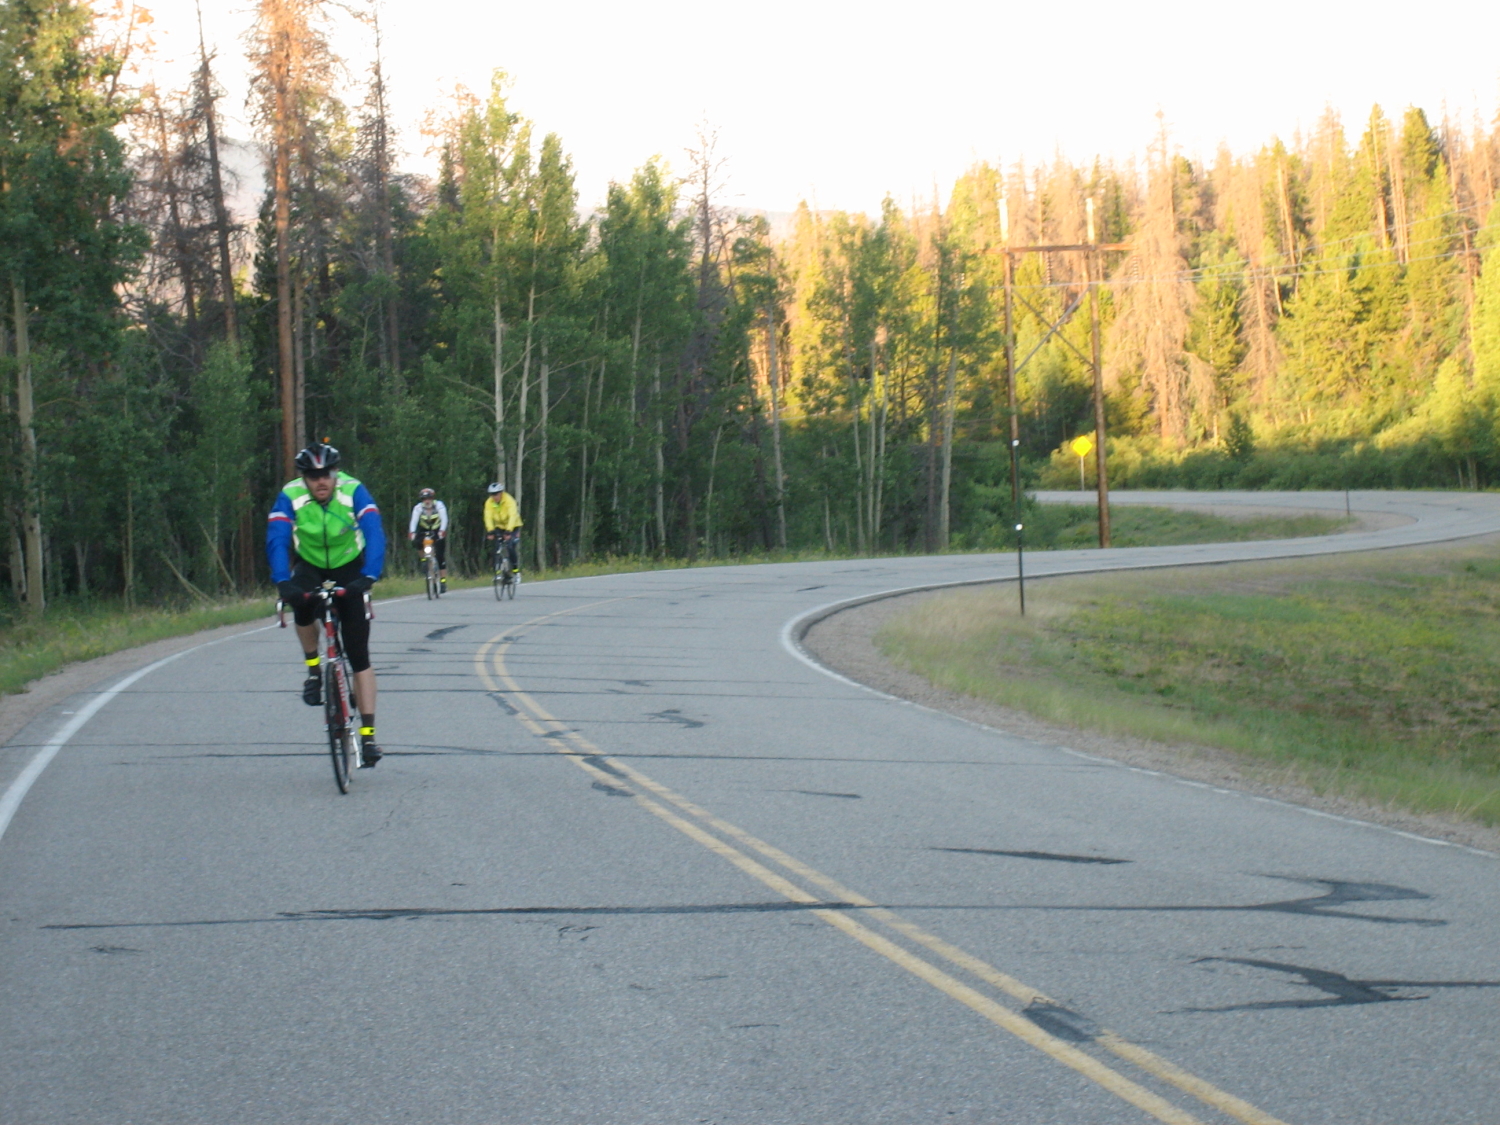
Earlier this spring, I made the acquaintance of a local roadie, Brian Whipple. He and I are the same age and we ride very close to the same speed and intensity. He has complained about getting “out climbed” by many of his cycling partners, so this season he was making a concerted effort to work on doing more climbing (& prepare for the LoToJa in September). One of the local favorite climbs is the (Mount) Nebo Loop road, which is a 30 minute drive from us in Sanpete County. Most people start on the north side as it is near the metro area of Provo and Payson. The grade is also less severe starting on that end (the grade going up the south side approaches 14 to 16% depending on who’s GPS you rely on). For us, the southern approach is a shorter drive.
I have done a single crossing of the Loop in conjunction with some organized rides, but never a “double crossing.” This summer, I did two doubles with Brian (and Richard Anderson on once occasion, who was usually off the front and not in the photos). The distance was 75 miles with about 9800 feet of vertical gain. It typically took us seven hours to complete.
This tough duty “double” business reminds me of my ultrarunning days, when I did a double crossing of the Grand Canyon or a double summit bid on Mount Timpanogos — both of which I did solo.
This month, Shimano announced a new 9000-series, eleven speed drive train for road bikes. At this point, it is only available in Dura-Ace, and not for their Di2 electronic shifting. The grouppo includes a new STI shifter set, cassette, crankarm (in both compact & regular), bottom bracket, chain and a front and rear derailleur. For me, this is not a big deal, since I already have several bikes and wheel sets that use 10-speed. This is a case of “keeping up with the Jones” (Campy). Now one has to wonder if Sram will follow suit.
As a professional photographer I frequently get asked about recommendations for cameras. Below is a summary of my thoughts. The links are subject to immediate change…so they may not be relevant a month from now!
Factors
Is the size of the camera an issue? There are three styles:
– The smallest are “point & shoots” (P&S). Most are about as big as cell phone and will fit in a shirt pocket. Some models are a little larger which have a bigger zoom range and better optics. The thing I hate about them is there is typically a delay between when you press the release to when the photo is actually captured. I use Rebecca’s (my spouse) Canon P&S when doing outdoor stuff like cycling, hiking, backcountry skiing etc. where weight is an issue.
– The largest are DSLRs which stands for digital single-lens reflex. They have interchangeable lenses. It seems 90% of people never buy a second lens anyway, so why both with the extra expense and bulk of a DLSR then?
– The new (2011) mirrorless cameras & Micro 4/3s split the difference between a P&S and a DSLR. They have interchangeable lenses, but are more compact because they don’t have the bulky glass prism on top and the mirror housing (this combination is what is called “reflex”). Some of the Micro 4/3s do have a pentaprism, but the bodies are still smaller than DSLRs.
What is your budget? This is like buying a car stereo system. They all look the same…but the more you pay, the better the sound quality. For $500 you can get an EOS Rebel T-3 (digital single lens reflex). It has 12 megapixels — plenty of resolution. It is one of the smaller DSLRs, but is still bulkier than the new mirrorless. If I was buying a DSLR I would get an low end or average body and spend more money on a better lens with a bigger zoom range.
Do you need to shoot in dim lighting or at night? Tourists shooting inside museums without flash, night shots of the city, or taking pictures of your kids basketball game in a poorly lit gymnasium will want a “faster” lens. The speed of a lens is often ignored by amateurs as they get caught up with the big telephoto zoom ranges that are advertised. But unless you are shooting a soccer game from the other end of the field, I personally think that a faster lens with a smaller zoom range is a better investment. A faster lens is one that has a smaller number for the F-stop. F1.4 to F2.8 lenses let in more light that a “slower” lens with a higher number like a F4.0, F5.6 or even the dreadfully slow F6.3 found on some super zooms. Most zooms have an F-stop that changes as one zooms the lens in and out, which is why you will see a lens with a “F3.5-F5.6” lens—F3.5 is the f-stop at the wide angle end, changing to F5.6 at the telephoto end. In other words, as you zoom in more (making your subject bigger in the viewfinder) the lens reduces the amount of light available. Nearly all cameras, excepting a DSLR may struggle with trying to auto-focus in low light. After shooting in dim light, with a non-DSLR, it is wise to double check your focus by zooming in on your LCD image afterwards.
Do you need a huge zoom range? If you are shooting wildlife (especially birds) or fast breaking sports, then generally a Micro 4/3s with a pentaprism or a DSLR is the best bet.
Do you plan on making large prints? Most consumers only make 4×6″ or 8×10″ prints or post their images to Facebook. Any camera with 5 to 8 megapixels of resolution will work for that. But, if you plan to blow them up to 11×14″ or 16×20″, then a high-end mirrorless (with a large APS-C sensor), a good 4/3s, or preferable a DSLR camera will be required. Look for one with 12-18+ megapixels. The bigger then sensor, the better (which is why DLSRs offer the best quality of all cameras).
Do you shoot fast action wildlife or sports? Mirrorless cameras can’t track fast subjects very well, so choose a DSLR or a 4/3s camera with a pentaprsim or SLR feature.
Do you want to shoot decent video also? Most “still” or picture cameras over $400 shoot HD video now, but those with larger sensors should provide better quality.
Do you need shallow depth of field? Depth of field is controlled by a combination of the lens and F-stop. For still life photos or portraits that have a nice blurry foreground and/or foreground (called selective focus), then a telephoto lens with a “fast” lens is a must, something that is rarely found on a P&S. If your P&S camera has a fast F-stop, like F2.0 to F2.8 AND you use aperture priority or manual (setting the F-stop to a smaller number) you could achieve this affect.
These days, the iPhone app Instagram, one can achieve a very good shallow depth of field look too.
The links noted are to B & H Photo, a reputable place in NY that is the largest in the world and usually has the best “US” prices. Many other dealers undercut them by offering brand-x warranties (B & H also has their own warrant policy but they clear state it). The problem with a brand-x warranty is that one sometimes has to send the camera overseas for repairs, which takes forever. When possible, be sure you are getting the manufacturers genuine USA warranty.
Types of Cameras
Cell Phone
One problem with cell phone cameras is the zoom range. Nearly all of them use a “digital zoom,” which is really bogus as it is merlely cropping into the image, which reduces the pixel count resolution. One is usually better off, cropping later in Photoshop. Also, since the lenses are so small, they have trouble taking good shots in poor (dark) lit conditions without blurry images do to a long exposure. Nokia has taken a revolutionary approach with their model 808, by placing a huge 41 megapixel sensor in their camera and then allowing one to crop later, without losing date, providing a “good” 5 megapixel cropped image.
Point & Shoot (P&S)
Those with big zoom ranges, like the Canon PowerShot SX50 HS have a huge zoom range (24-1200mm equal) but the f-stop of that lens is F3.4–F6.5 which is “slow.” That means it is great for shooting your son in a soccer game 1/4 mile away, but lousy for shoot interiors of a dimly lit home or museum. It is a larger P&S and is also bad for “shoot your daughter in an indoor soccer game” jobs. The Canon PowerShot G15 is MUCH better for low light as the F-stop range is F1.8–F2.8. The zoom range is adequate at 28-140mm. If you looking for something very compact, then also look at the Canon PowerShot S110. It has processes RAW files too. The price on these is from $400 to $700. If you need a camera that is waterproof and shockproof, then look at Olympus or Pentax as that seems to be their niche.
The biggest advantage of point-n-shoot cameras is that the sensor is much smaller than 4/3 or most mirrorless cameras, so consequently, they can design them with fast lenses (better for low light) that are much more compact than an equally fast lens on larger-sensored cameras like mirrorless, 4/3 and of course all DSLRs. Typically, the lenses are not interchangeable, but for most people looking at DSLR alternatives, an extra lens is a nuisance anyway.
Micro 4/3
The Panasonic Lumix DMC is a mirrorless hybrid that falls between a P&S and a DSLR and also falls into the Mirco 4/3s category. (Micro 4/3s sensors are half the size of a full frame sensor, or approx. 12 x 18mm in size and supposedly all brands of lenses are interchangeable with each other.) Panasonic has lead the way with many “pro” style focal lenses, like the 12-35mm F2.8 and 35-100 F2.8 (both excellent in low light, but have a smaller zoom range than the slower lenses). They also offer a decent “all around” lens that has good low light coverage, the 14-50mm F2.8-5.6 ($850, equal to 28-100mm on a full frame DSLR). This series has interchangeable lenses that are SMALL unlike DSLR lenses. My brother has one and has been basically happy with it (although for work photos lately he just uses his iPhone — but he doesn’t shoot kids playing soccer etc.). If you wanted to get a review on the Panasonic or others, visit this site for more info than you have to time for. Panasonic and Olympus are the leaders in providing the best lens selection for this market.
The Nikon 1 looks very promising and has many lenses already available including the nice all around 10-100mm F4.5-5.6 (kinda lousy for night or dim lit photography however). At the time of this writing, the cheapest model is the J2 which runs about $550.
Oddly enough Canon has avoided the whole 4/3s scene. Fujifilm and Samsung have also entered this market.
Mirrorless (this is where the categories getting blurry, as some Micro 4/3s are single lens reflex, while others or mirrorless!)
The Canon mirrorless is called the Canon M and runs about $800 for a prime or non-zoom lens. Most people will want a zoom lens, so I’m not sure why they don’t package it with one up front (that is due to change I’m sure). If you own, or have family members, that have a Canon EOS DSLR system, those lenses will fit on this camera with an optional $200 adapter. Right now, they have only a few M-specific lenses available. Many mirrorless cameras have APS-C sensors which are on par with those found in most DSLRs. Some of these sensor are even larger than the Micro 4/3s cameras.
Some of the new Micro 4/3s are also mirrorless and also fall into this category. Also check out this article on DPReview.
DSLR
The big rivalry is between Canon and Nikon. As far as brands go, I have always preferred Canon, having switched from Nikon to Canon back in the late 1970s. From the 1950s to the 1980s, Nikon was king of the hill in the SLR (film) world. When Canon first introduced the EOS auto focus series, it blew away Nikon as it was so much faster. That was because they put the motors in the lens and not in the camera body. Most pros switched over to Canon, especially photojournalists and sports shooters. Nikon finally came around with decent auto focus lenses, but they had lost a lot of market share. Now things are pretty even. Some say the optics on Nikon cameras are better and that their on-camera flash and metering systems are better. Others like Canon as the new EOS mount is larger than the old Nikon standard, thus creating a stronger connection and allowing more ingenious lens designs.
Nearly all DSLR models now shoot HD video, so any body will do the job. I would recommend getting something better than the standard “kit” lens which is usually an 18-55mm. Do not get the 28-135mm that Canon offers, unless you are getting a more expensive body with “full frame” sensor (like the Canon 6D or the Nikon D3 or D600), as you will have no wide angle range. Personally, I feel full-frame sensors are not worth the extra expense. If you can afford it, get a lens with a half-way decent zoom range, like a 17-85mm, 18–105mm or 18-135mm lens. My daughter Rose got this model instead as the lens is better for video (more range), but it is $1800. The 18-135mm lens is a sweet combination ideal for most travel photos. If you want to shoot indoor Pintrest style selective focus shots of your kids or still life shots (food or craft), when a fixed focal length or “prime” lens is fun to own. Pick a 50mm F1.4 or 85mm F1.8 lens. They are slight telephoto and good for close in shots, but not so good for group people shots inside with limited space.
Summary
Most people are looking for a good “street” or all around “tourist” camera with one lens. Here’s some choices….if cost were no object, and I wanted a very compact camera for making decent quality big prints, then I would consider the mirrorless Panasonic DMC-GF5 (or similar model) with the Leica 14-50mm F2.8-3.5 lens. This zoom range is pretty limited, but it is pretty good in low light. If low light shooting is not an issue, and you wanted a more telephoto reach, then choose the less expensive 14-150mm F3.5-F5.6 lens. It would not be particularly good for sports photography however. If you wanted a smaller device, but were less concerned about making jumbo prints, then the Canon G15 would be a good choice as a mid-sized point and shoot camera. If you must have the smallest thing around (i.e. for backpacking or trail running), then look at the Canon S110. I like this model as it shoots in RAW, something many P&Ss don’t do.
What do I own? I own a Canon 7D DLSR (APS-C sensor size) with numerous lenses. Ironically, I don’t have one all-purpose “street lens.” Instead, I end up bringing two: a 10-22mm F3.5-F4.5 super wide angle and a 24-105mm L-series F4.0 as my all purpose lens combo (i.e. my 2011 trip to Europe). If I were to purchase one all purpose “tourist and family shots” lens, it would be the Canon EF 18-135mm F3.5-5.6. Another two-lens choice I have looked at would be the EF 15-88mm F3.5-F5.6 (a bit wider for interiors than the 18-135), supplemented by a fast, medium teleph0to prime (fixed focal length) like a 100mm F2.0 or 135mm F2.0 lens. Either of those telephotos would provide killer selective focus shots due to their big aperture and conversion factor when used with a smaller than full frame APS-C sensor.
2014 Quick Update
Check out this overview written in December of 2013. In particular, look at the Canon Powershot G16 with it’s super fast lens (good for available light, something most DSLR “kit” lenses don’ even offer).
I was little apprehensive as my carbon fiber bike has developed some hairline fractures which I was worried about. It held together fine however. A new frame is coming (warranty replacement) but is not here yet. Also, my new/used titanium bike is not yet built up or I would consider taking it.
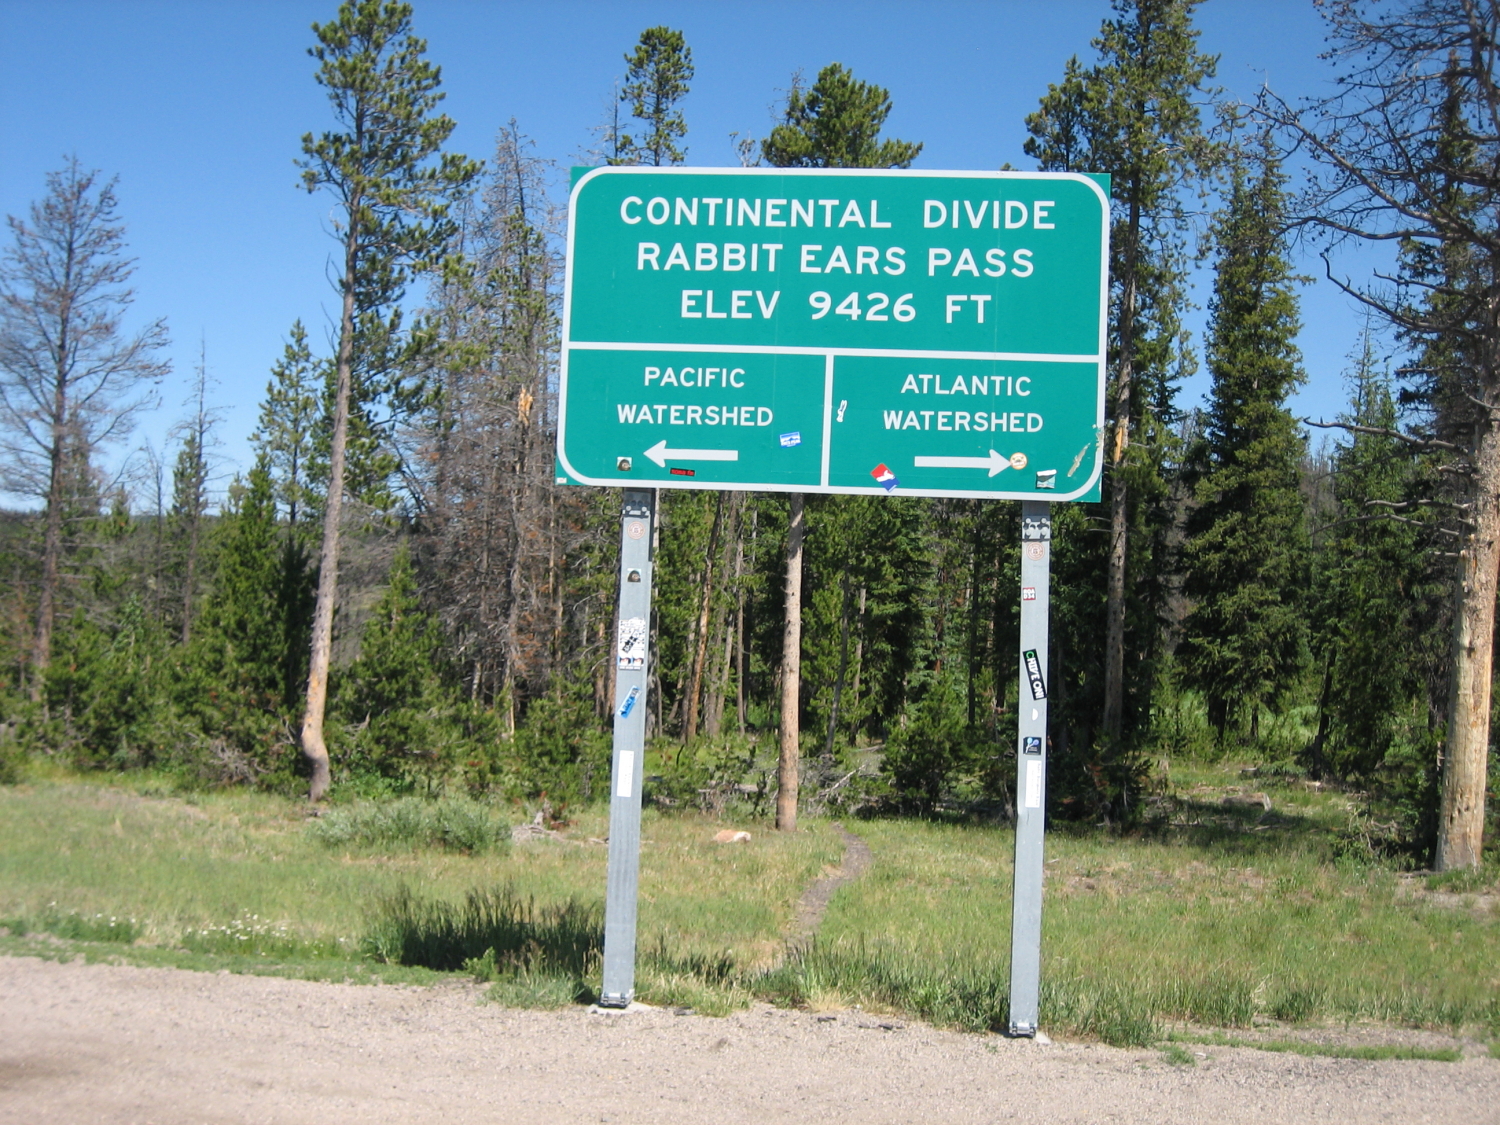
Day one (July 9th at 4:00 a.m.) started out with a very light drizzle as we left Louisville, heading north towards Laramie Wyoming. The temperature was fine, at about 50F as I recall. At about mile 47, Mark Thomas, who was riding right behind me, (current president of RUSA) made a rather memorable but short comment…“well only 700 miles to go!”
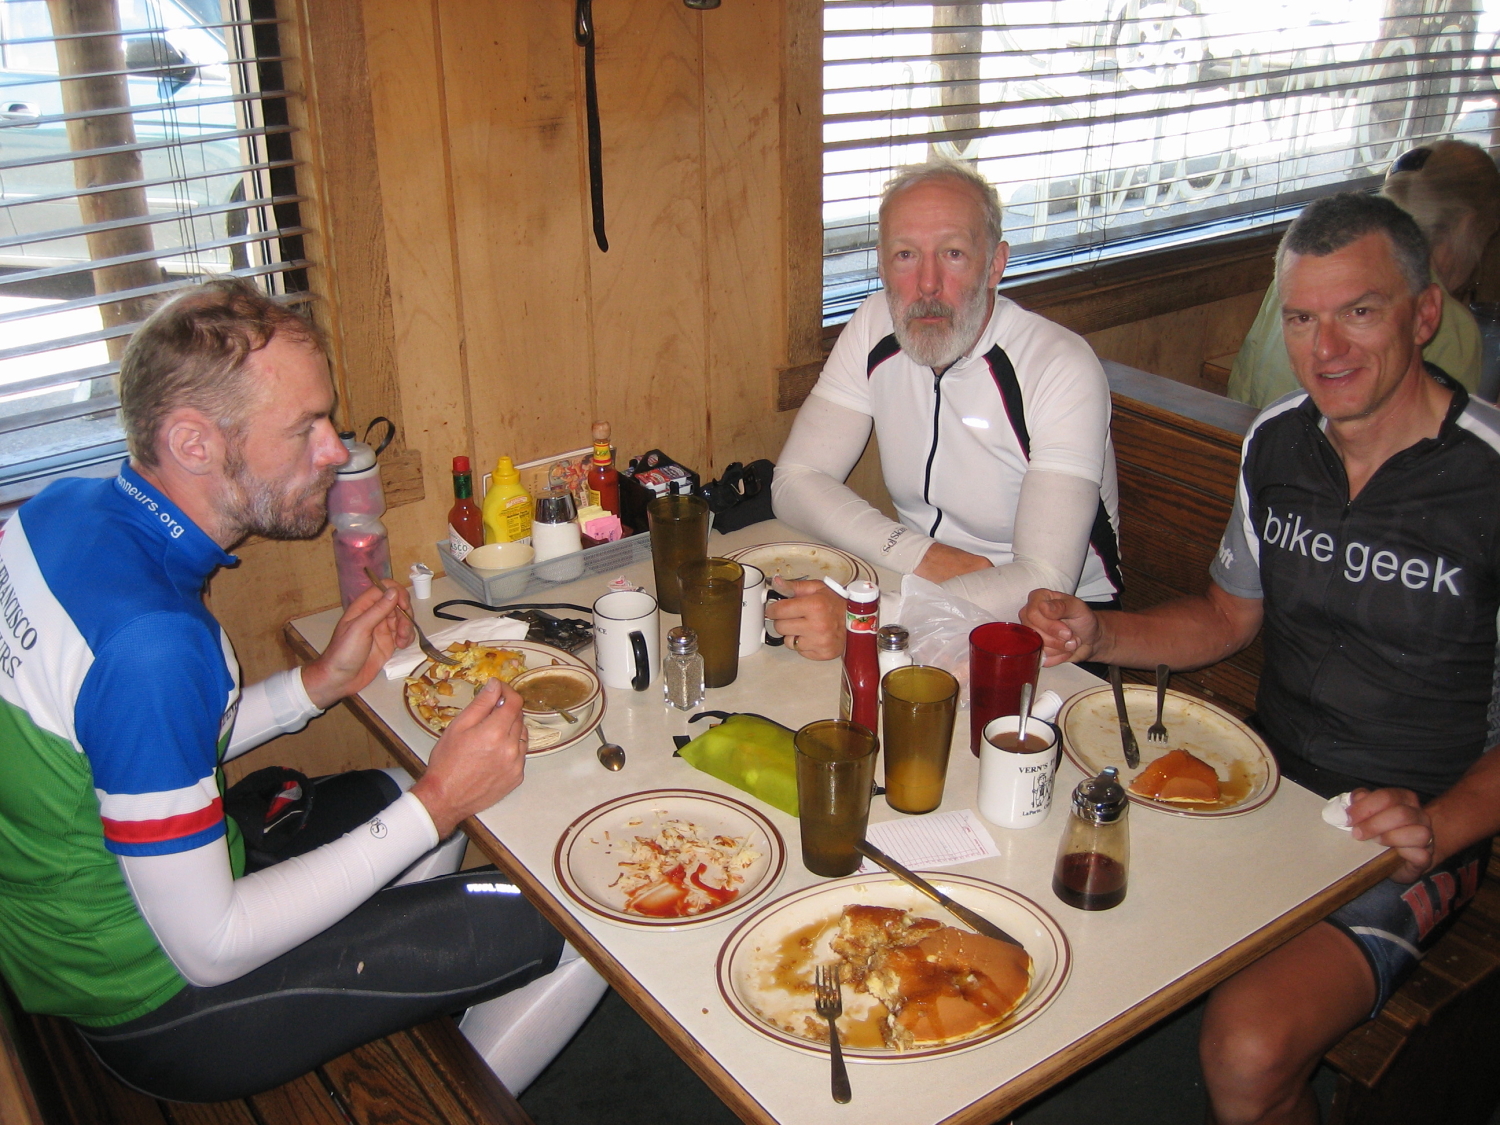
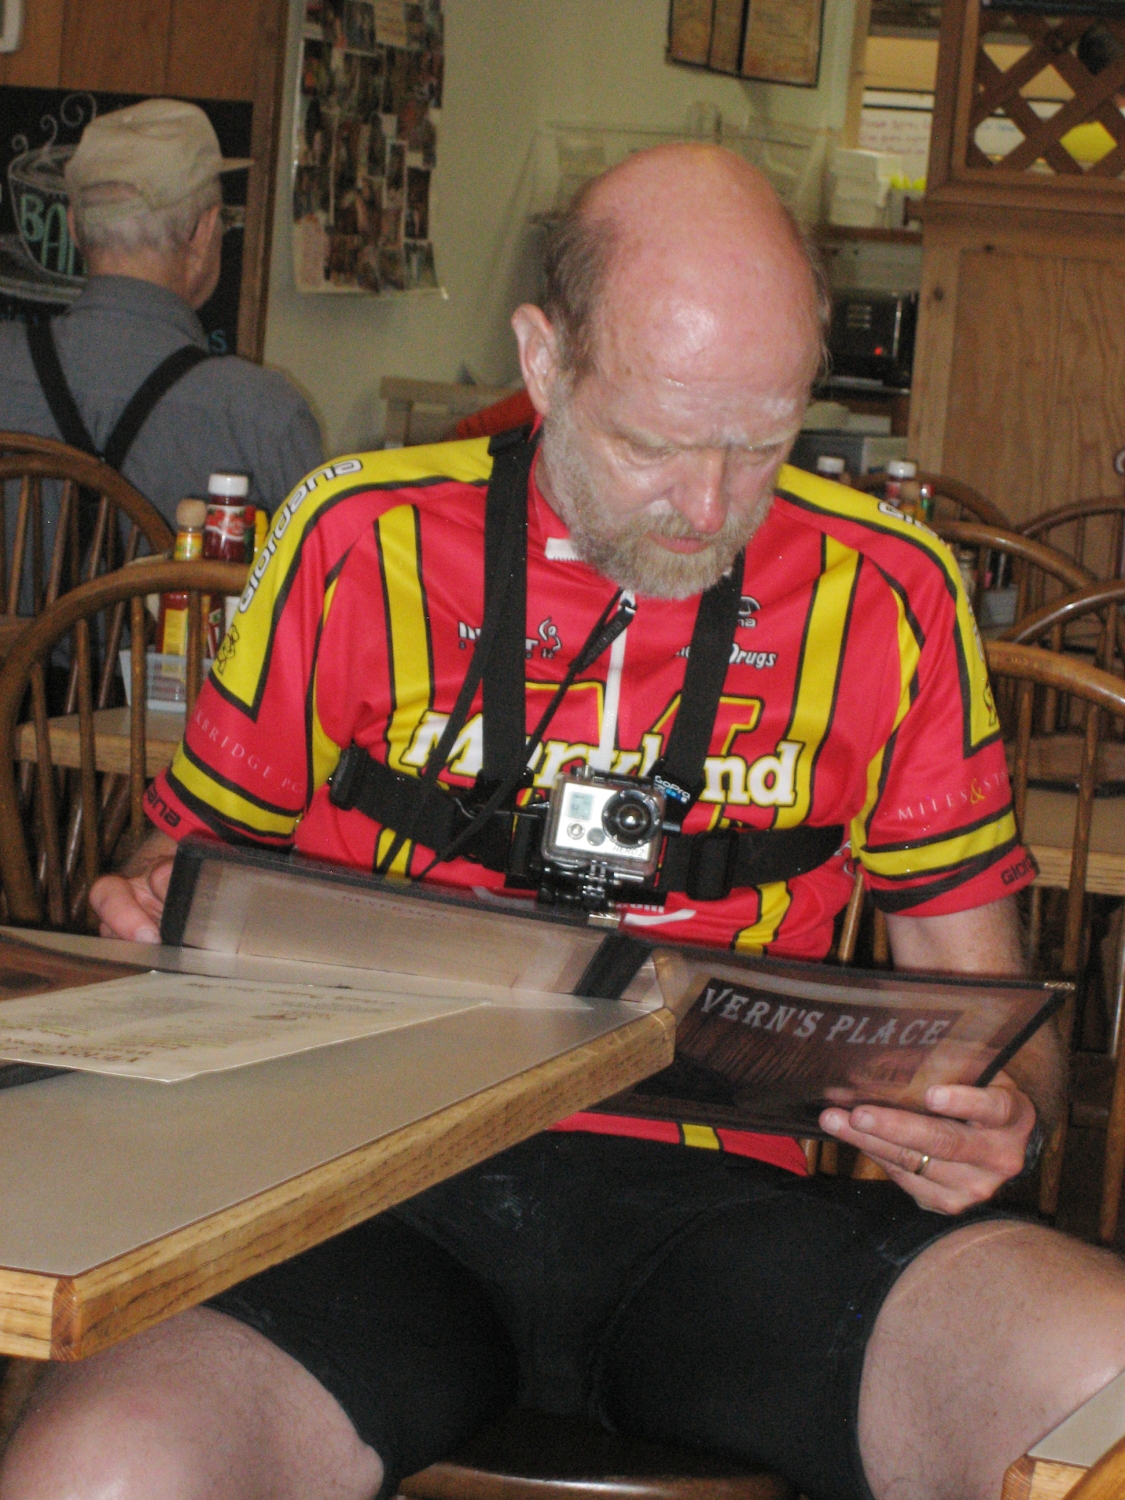
I stuck with the main group of riders and decided to try to stay near the front of the pack as we headed into the first checkpoint at mile 65 in LaPorte (Vern’s). Last year I got there a little late and got stuck waiting for restroom facilities. This year I got in and out and continued in a northerly direction. The rain had dissipated by then and it was getting warmer. As we started to climb I found myself with Foon Feldman and Bob Bruce near the very front of all the riders. There was one other rider up ahead, but out of site. We continued on through the checkpoint in Larmie and started the long, low-angle climb toward the base of the Snowy Range. As I was descending a roller my front tire flatted. I stopped to fix it and my both of my spare tubes leaked air, requiring me to patch one of them to continue on. I remember earlier in the day, in the darkness hitting some plastic debris. This tire has a small gash on the outside. Although it didn’t go all the way through the tire, I also booted it as a precaution. This tire was a brand new Conti 25mm 4000s.
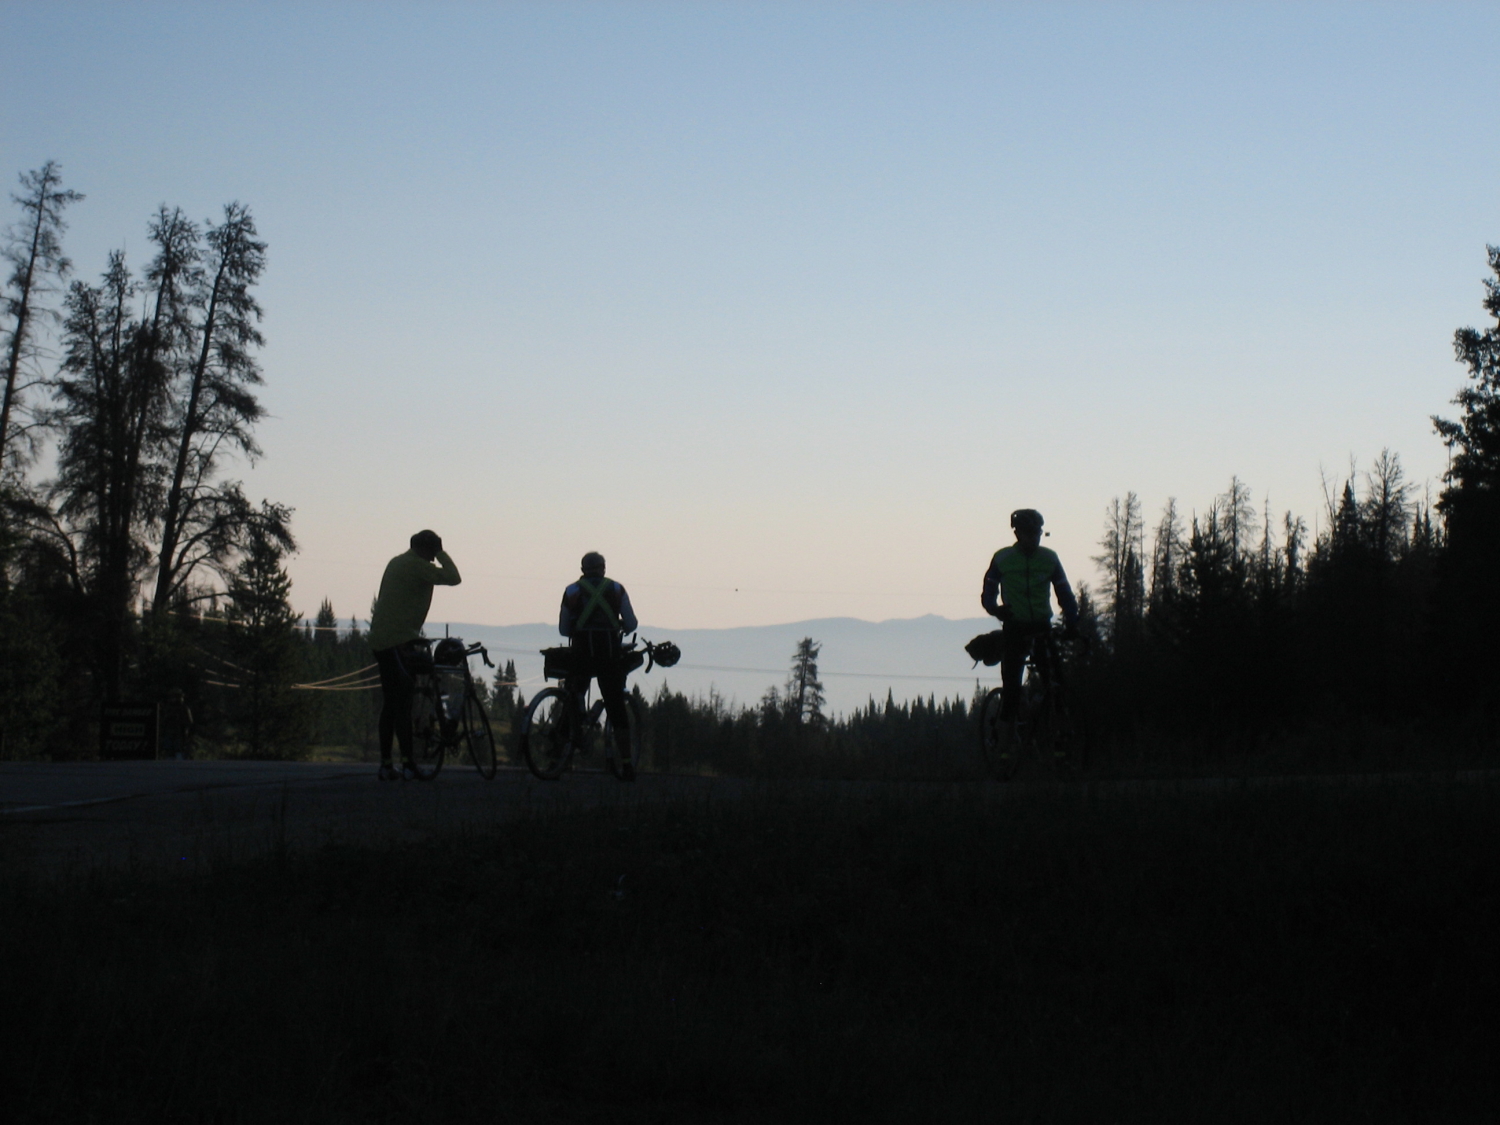
While changing my flat, several other riders rode by and offered help, which I didn’t need. I finally got to Centennial Wyoming, at the base of the Snowy Range (best scenery of the whole trip). The next services were some 51 miles ahead including a long climb. Because of that I filled up my third water bottle that hung from my down tube. As I started the climb I passed 3 or 4 other riders but didn’t see any one else until I got to the other side of the mountain. I arrived at the overnight checkpoint in Saratoga, Wyoming (mile 220) at 7:15 p.m.
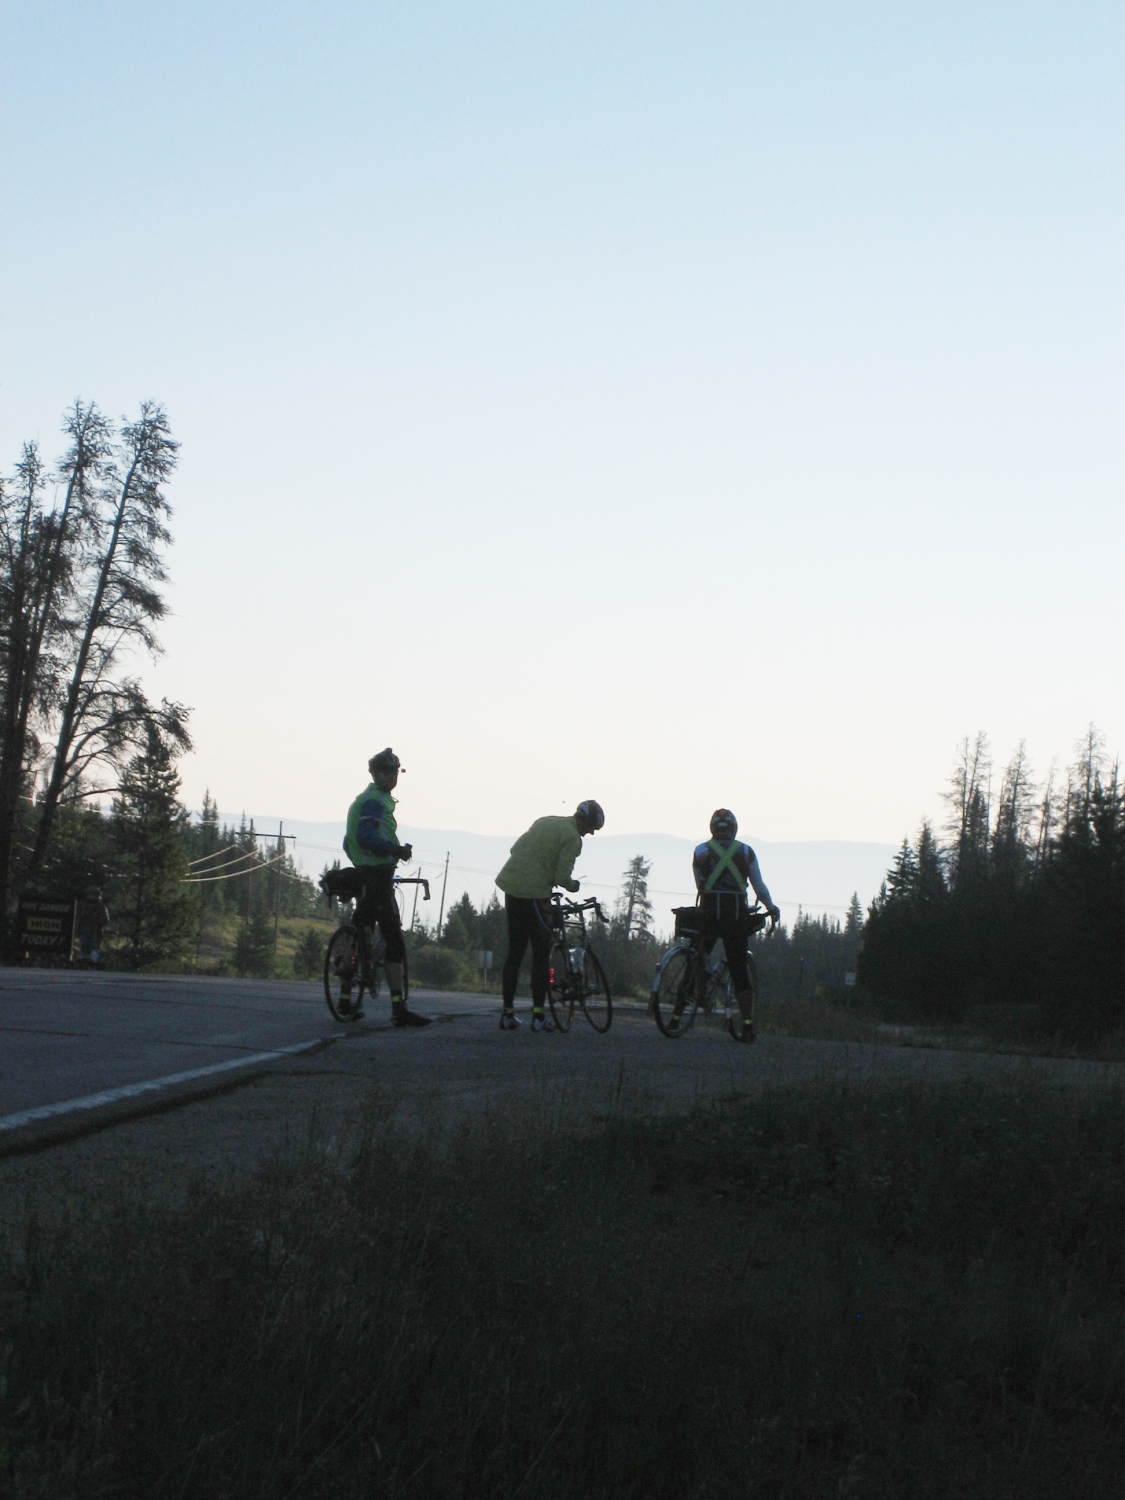
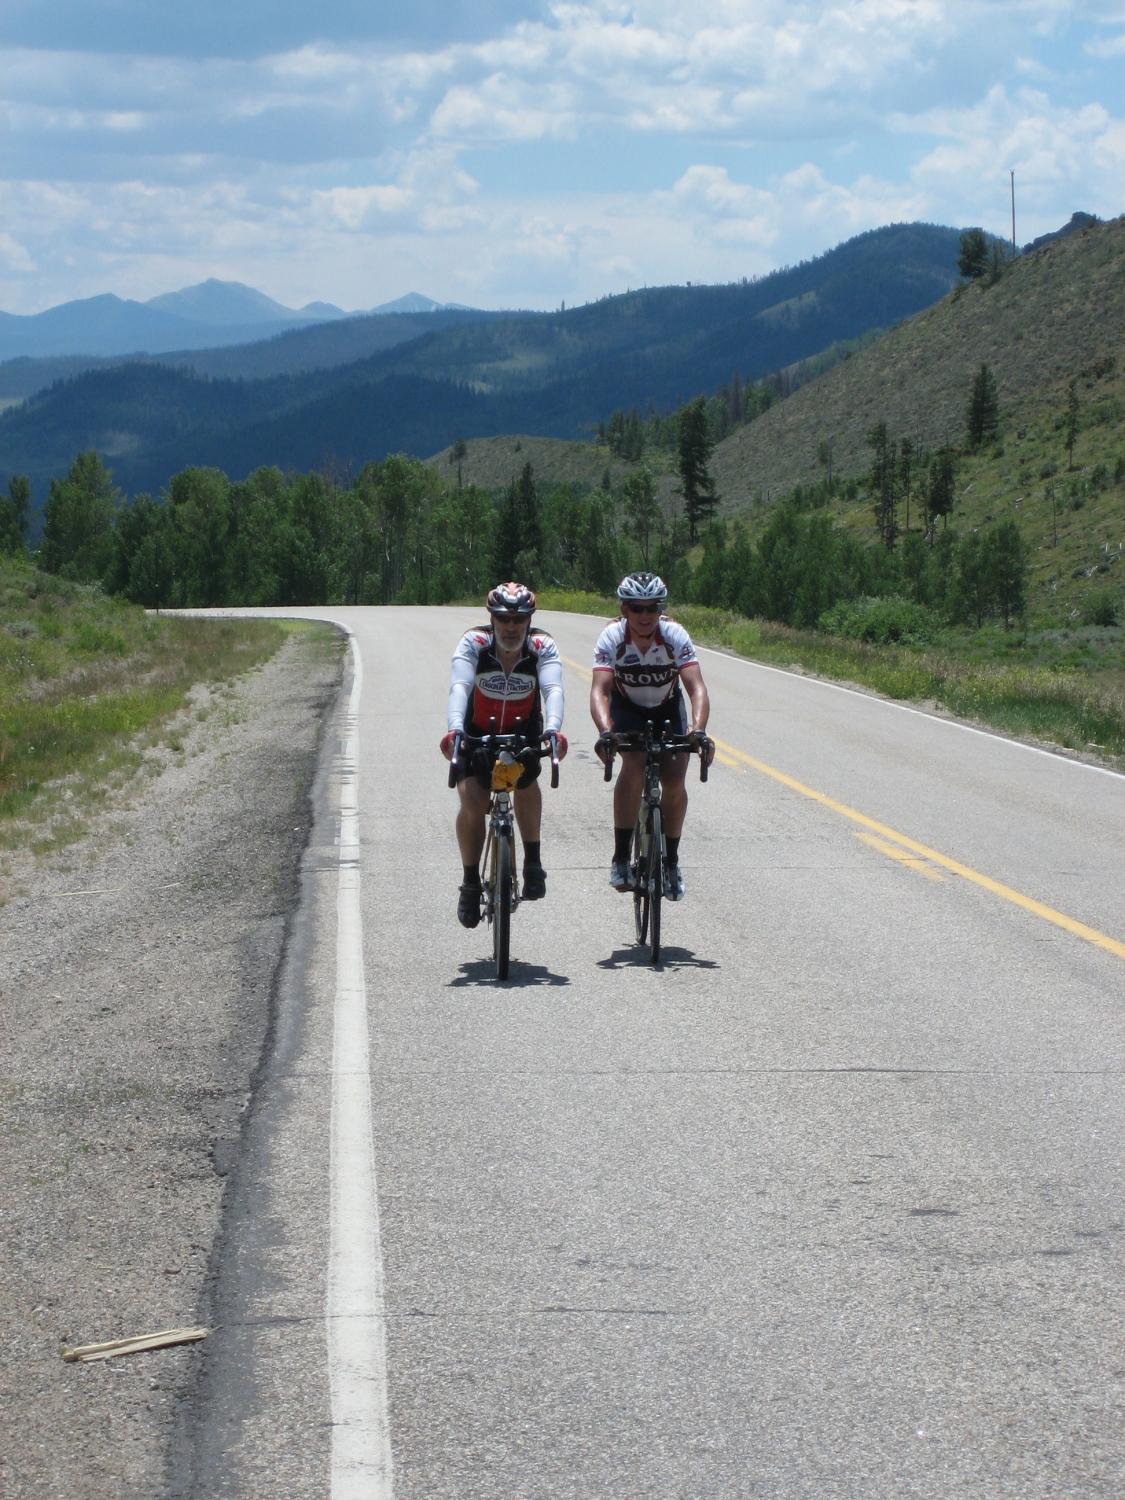
Day two began with a 1:50 a.m. departure. Bob Bruce and I rode together the whole day—well really, the balance of the ride. As the morning progressed we encountered a steady cross wind from the right. I ended up riding on the right side of the road with Bob to my left, providing some protection to him from this cold wind (I believe the temp was about 43F). I was wearing my rather skinny prescription glasses which provided little protection from the wind. My eyes, particularly my right eye was constantly watering because of the wind. Eventually I stopped and stuck some adhesive tape on the sides which helped very little. At times I had both eyes squinted trying to reduce the pain of the wind. As the sun finally rose, I was glad to switch to my prescription wrap-around sunglasses. At that point Foon Feldman, Dick Wiss and Vidas Placlakis joined us and we rode into Walden for a second breakfast or brunch. It was finally warming up. I had been a bit underdressed and it felt good to pause in the morning light at our host motel and eat a PBJ on a Blueberry bagel.
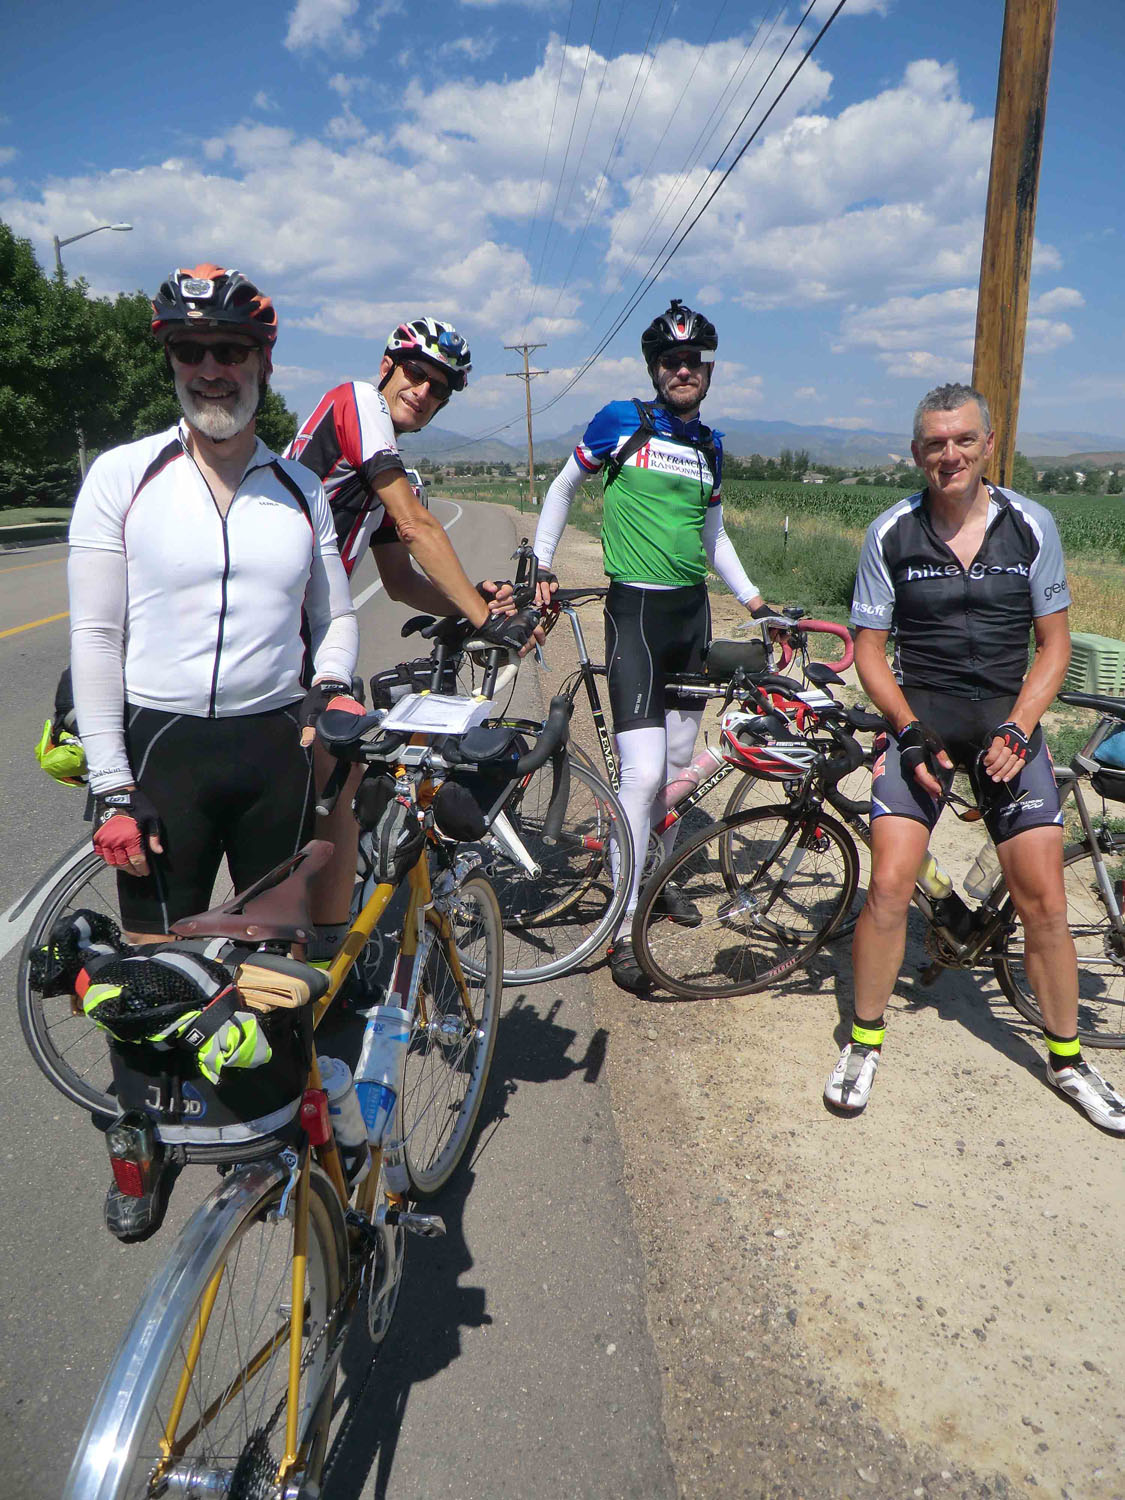
The five of us heading out of Walden and very shortly the pace quickened so Bob and I dropped off the back, waving off the other riders. We continued on as a team, but Bob was feeling kinda crappy so I did most of the pulling on Tuesday. After leaving Hayden we were both cursing the purpose of doing “mileage circles” just to get extra distance. The circle I speak of was 20-mile road, on the way to the town of Oak Creek. It had grades that seemed steeper than the long Snowy Range climb on day one. But due to recent fires and subsequent floods, the route was changed and we had to get more miles in to get to our minimum 1200 km. We finally arrived at the overnight checkpoint in Steamboat Springs at 6:45 p.m. I believe we were the 4th and 5th riders to arrive. We rode about 198 miles on Tuesday bringing the total to 418 miles thus far.
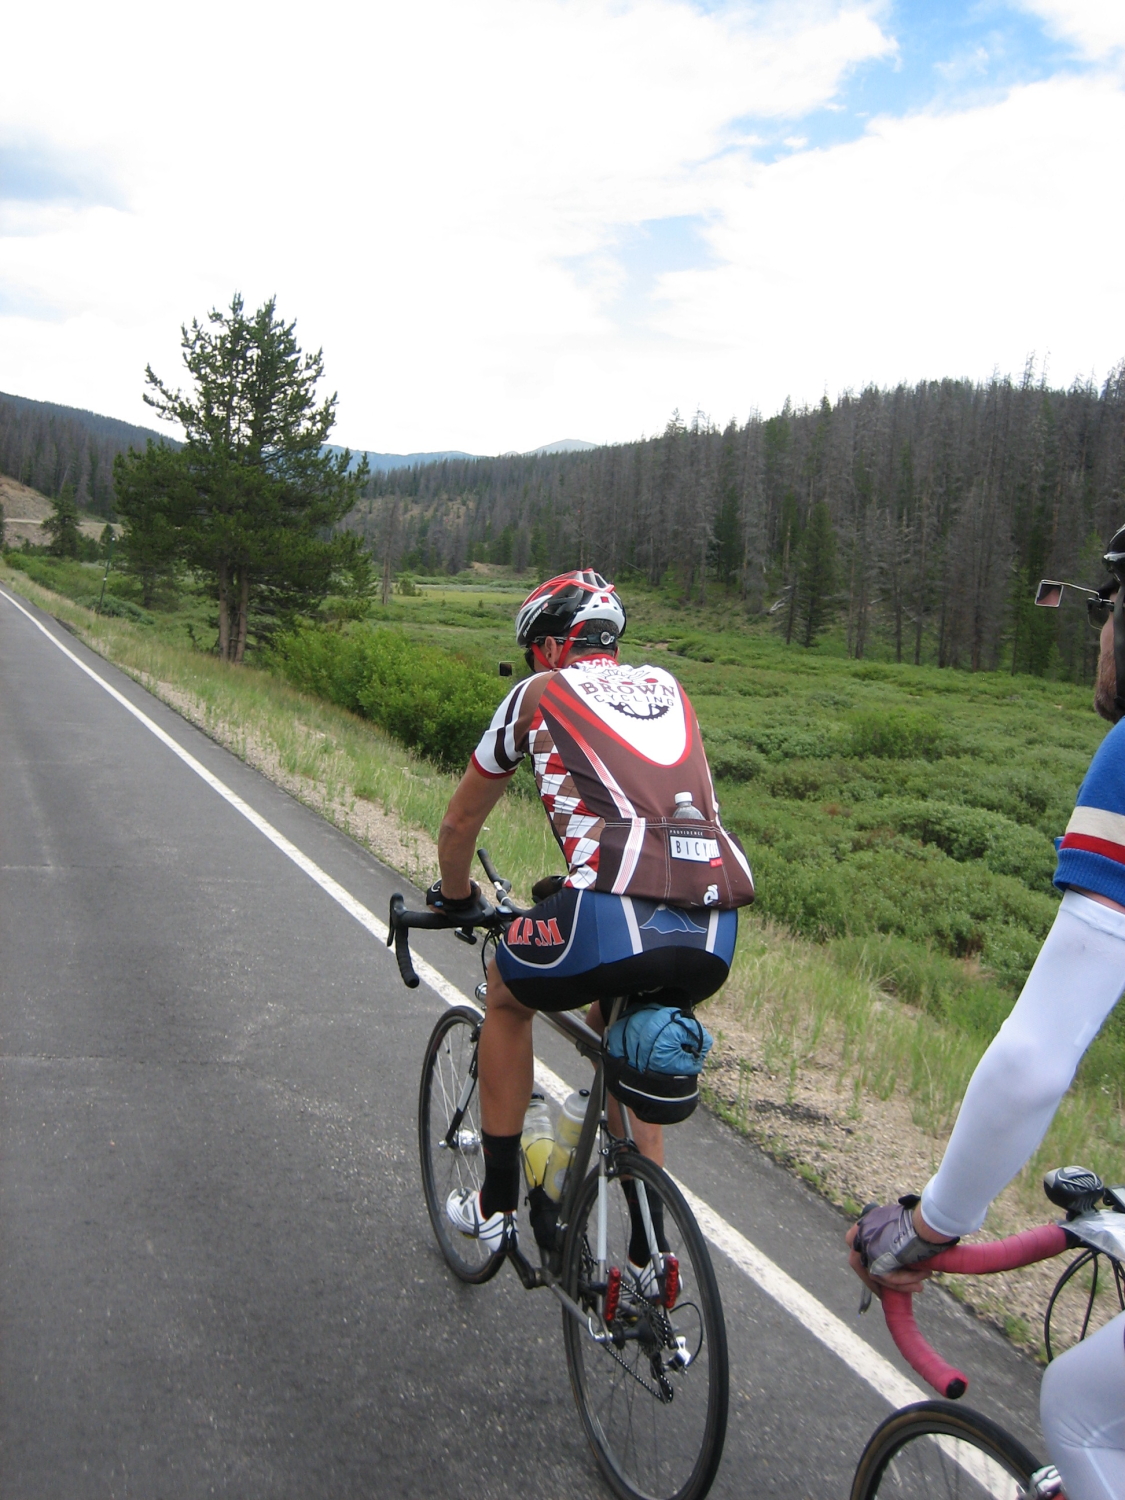
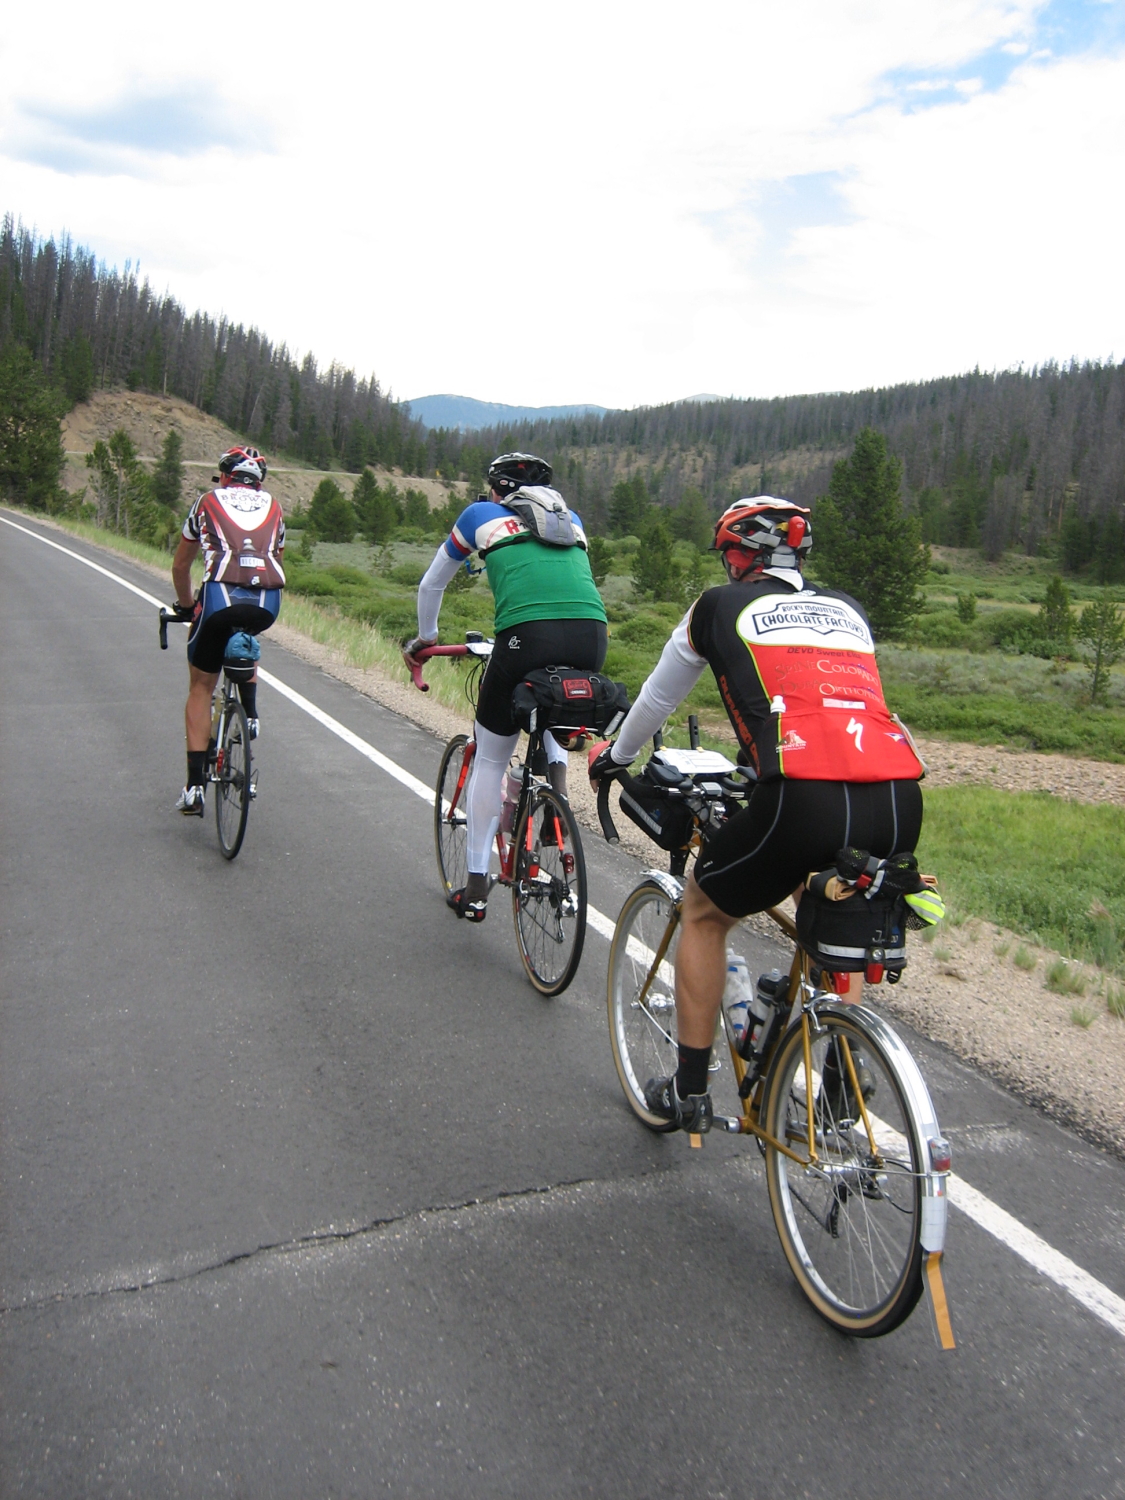
Day three began as four of us departed at 2:00 a.m. (Foon, Vidas, Bob & myself). We started early as we wanted to beat the heat on the Willow Creek Pass climb, later in the day. We made our way over Gore Pass just after sunrise. It had been a cold ride to that point, but with a cloudless morning, we began to warm up. Everything went according to plan and we arrived in Klemming at the Merc which has a great deli and grocery store. We had an early brunch and continued on our way. I was dragging and although I took a few turns pulling, they were short. Despite my slow pace, the three others stuck with me and we worked as a group of four. I really appreciated their patience in backing off the pace so I could hang with them. People say randonneuring is about comradeship. To date, I don’t recall seeing it to the degree that these three partners exhibited on this ride. Despite my slowness we made our way up and over Willow Creek Pass (John Lee Ellis, the RBA was on top to greet us and provide water) and arrive in a timely manner in Walden, our final overnight stop. We arrived at 4:50 p.m. with plenty of time to eat and get organized for the next day. Excepting one other cyclist, our group was the first to arrive at this checkpoint. Having only had about three hours sleep the last several nights I was very tired. After supper I prepared to sleep. I set the alarm on my cell phone. It said “alarm to go off in 7 hours and 23 minutes.” Wow, seven hours of sleep. I don’t recall ever getting that much sleep on a 1200km. NICE! With 181 miles done for the day, our total was now 599 miles, leaving “only” 148 miles left on day four.
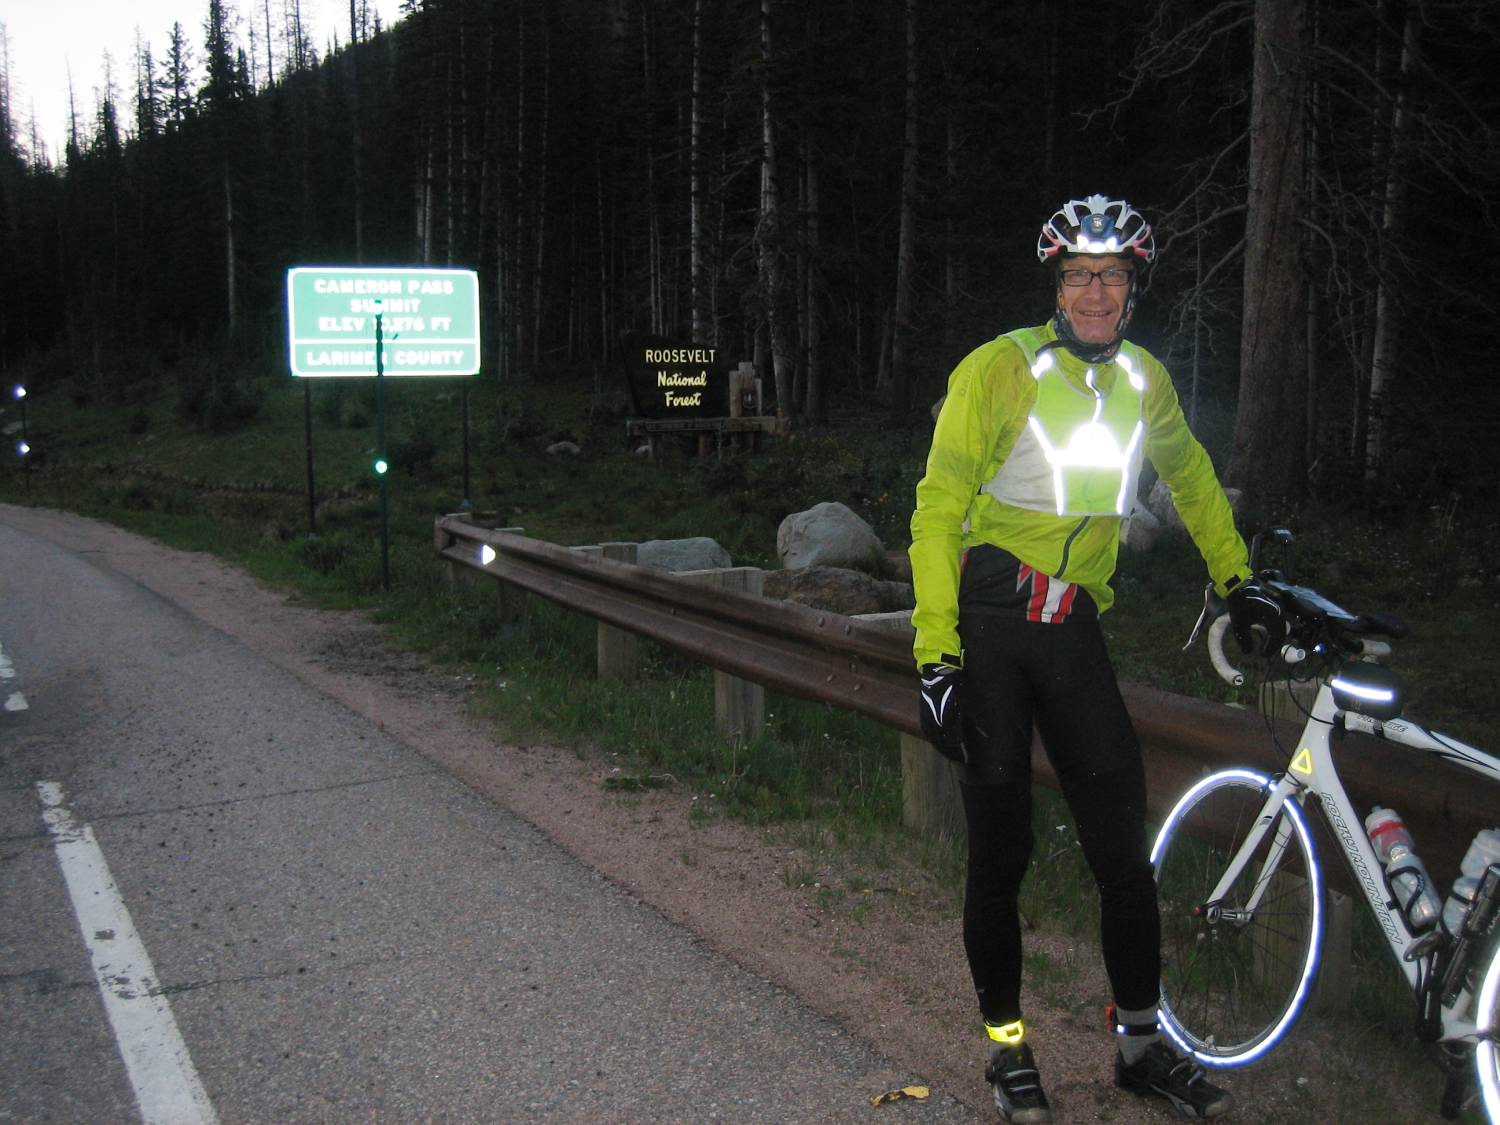
Day four began with a 2:00 a.m. alarm and a 3:00 a.m. departure. We didn’t want to leave too early, as we would miss the scenery on Cameron Pass (10,276 ft). Our timing was perfect as we arrived near the pass about a half hour after sunrise. It was a cool descent, but I brought extra clothing making it survivable. I also braked more on the upper part to keep from freezing. We made our way to the bottom of the canyon, once again working as a group on the gradual downhills drafting one another. We passed several others that left earlier that morning. That is the power in organized group riding (+ youthfulness). We stopped for a sit down breakfast at Vern’s at the base of the canyon. We then continued on towards Louisville finish, stopping only once in Hygiene for fluids. We finally arrived at the finish at 1:43 p.m. We were preceded by only two other riders and were greeted by several volunteers. I was a also surprised to be have several of my grandchildren (who are living in the Denver metro area) there to offer their support!
Many thanks to all the volunteers and for their sleepless nights helping us to the finish. The food was wonderful at each of the overnights. The weather was nearly flawless and this ride had very DNFs, compared to last year.
Gear tested for my roadie gear site, DistanceBiker.com: > eoGEAR RandoBag 8.0 liter saddlebag
> CygoLite 740 Turbo Xtra lighting system (during this ride, I determined in a side-by-side test, that the medium brightness setting of the 740 was as bright as a Schmidt dynamo and Edelux cruising at about 15 MPH).
> A prototype for a new reflective ankle-band that holds a blinky on your leg..the eoGEAR “leg-0-light!”
Specs Total time: 81:43
Total mileage: 747
Average traveling speed: 15.2 MPH
Cumulative elevation gain (Ride With GPS): 28,000 (approx.)
Riding time: 49:18
Sleeping time (3 nights): 13.5 hours (approx.)
~ Richard
P.S. Except as noted, all photos are Copyright 2012, Richard Stum
Recently I posted a question on a cycling forum. It was “how high should one’s heart rate be on a long extended climb?” Then general consensus was “try to keep it below your lactate threshold” or “don’t go into the red.” (Lactate threshold is also called anaerobic threshold or maximal steady heart rate.) I know what my maximum heart rate is, but my LT is subject to discussion. In the many fitness books which I have read, there are several methods for determining this. But none make as much sense, and are as easy to calculate as this technique by John Hughes (author of the book Distance Cycling), who posted the following comment (used with permission):
Lactate threshold is the level of exertion at which you start to accumulate significant amounts of lactate in your blood.You can get tested in a physiology lab—they put you on a trainer, increase the wattage every 3 minutes and take blood sample every 3 minutes. The equipment plots HR vs lactate concentration and at some lever there is an inflection point where lactate concentration starts to increase more rapidly.
There are several field protocols for estimating LT. I have clients warm up thoroughly and do a 30-minute TT [time trial]. I’m on the road, but if I remember correctly Friel* suggests a 30-minute TT and the average HR for the last 20 minutes is close to LT. Two keys:
1. warm up thoroughly including about 5 minutes at close to what you think is your LT and recover for about 5 minutes
2. try to ride the TT at very close to the same intensity throughout
If you do this in competition average HR for the 30 minutes will be about 103% of LT.
LT ranges from 70-90% of max HR depending on fitness. I usually have clients do the test early spring and then repeat every 4-6 weeks using the same course. This way we can check fitness—increased speed and perhaps change in HR.
You can train to improve your LT by doing either intervals or more random speed work. Longer efforts below LT + recovery are more effective than shorter efforts above LT. Speed work above LT takes more recovery time before the next quality workout so you get less total quality volume in a week. How much? Start with 30 minutes of mixed intensity, broken into X hard efforts totaling about 15 minutes and Y easy efforts also totaling about 15 minutes. Build to 45 minutes of mixed intensity (or 60 minutes if you like pain!)
LT varies by sport because of the different muscles involved so if you really want to train using HR zones based on LT, then you need to do separate tests for different sports. Running is weight-bearing, cycling and swimming aren’t. Swimming and XC skiing use the arms. Etc.
When I say don’t go into the red when climbing (or ever unless in a road race), I mean stay below LT. If you are fit you might be able to attack a climb at 95% of LT and hold that to the top. Or you might start @ 95% of LT and back off slowly as you climb. Or start a little lower and push a little harder toward the top.
LT isn’t really a “point” where all of a sudden you go anaerobic, but it’s a region where you start accumulating more lactate with increasing metabolic costs in terms of fuel efficiency as I said in the earlier post. So it’s better to climb steadily at 95% of LT instead of starting up at 90% of LT and ramping up to 100%.
I’ve written an eArticle on Intensity training which is for sale for $4.99 at RoadBikeRider.com:
* Joe Friel, author of the Cyclist‘s Training Bible. Per Joe’s blog, he says:
To find your LTHR do a 30-minute time trial all by yourself (no training partners and not in a race). Again, it should be done as if it was a race for the entire 30 minutes. (If you really are using a race then it needs to be about 60 minutes duration. The reason for ths is that you go harder when in a real race – about as hard as you would go for 30 minutes alone.) At 10 minutes into the 30-minute test click the lap button on your heart rate monitor (in a 60-minute race don’t worry about this). When done look to see what your average heart rate was for the last 20 minutes. That number is an approximation of your LTHR. Note: I am frequently asked if you should go hard for the first 10 minutes. The answer is yes. Go hard for the entire 30 minutes. But be aware that most people doing this test go too hard the first few minutes and then gradually slow down for the remainder. That will give you inaccurate results.
As it turns out, my maximum heart rate on a bike (this year at the age of 58) is 161 or 162. When backcountry skiing, I get a slightly higher amount. Using the above formula, my LT is about 138, which is 85% of my maximum. According to Edmund R. Burke, PhD, “Most elite cyclists reach their lactate threshold at 85 to 90 percent of VO2 max, whereas untrained individuals reach theirs at 50 to 70 percent of VO2 max.” (p. 29 or the 2nd Edition of Serious Cycling)
Also, check out this page on my blog about how to measure your maximum heart rate.
A few years ago, a nephew of mine, who works at an outdoor wilderness program, indicated that this product called Areobic 07, (there are other similar products under other brands) was effective in treating water in the outdoor environment. They supposedly drank out of cow troughs, out of creeks, lakes, yet in several years of using this product on a daily basis, never had a reported case of Girardia (their dose was 4-6 drops per liter). I liked using it because it was much portable and convenient that a water filter and used it off and on for a couple of seasons of backpacking and trail running.
During the summer of 2009, I went backpacking for one night with my scout troop, which included my teen-age son. We camped near a creek that had many active beaver dams on it (Fish Creek which feeds into Scofield Reservoir in Central Utah). After we ran out of city water which we brought with us, my son and I both filled our 1-liter water bottles from the clear-running creek. We added about 6 to 8 drops of O7 to each bottle. We waited a half an hour and then drank as needed. None of the scouts used the O7. I had a Katadyn Hiker Microfilter for them, if they needed to refill their bottles, but none needed to. About two weeks later, my son and both came down with flu-like symptoms. After some rather expensive lab tests, it was confirmed we both had Giardia (Giardiasis). Within a few days, the problem was remedied with oral medication.
Was my dosage too low? Did I not wait long enough? This bottle is a few years old — has it expired (no date indicated on the bottle). Is it supposed to be effective as most water “filters,” but not as effective as the commercial “purifiers?” (There is a difference between backcountry filters and purifiers but off-hand, I can’t tell you what that is). Needless to say, I can no longer trust this product for the purpose of purifying questionable water (the distributor of this product currently make so such claims, but may have done so years ago). I guess I need to fall back on my rather heavy and bulky microfilter pumps or try the new batch of UV treatment methods (Steripen), which have been proven to treat water (unless is muddy).
For the past year I have concluded nearly workout (both cardio and strength-training) with a protein fruit smoothie. I got the original recipe from Boys Life, the BSA magazine for youth. It was a simple recipe, which I have since modified slightly. Here it is:
1 to 1.5 fresh bananas
3/4s of a fresh orange (I just eat the other quarter on the spot!)
1 handful of frozen spinach (I smash them fresh into a Tuperware container and put in the freezer. I then break off portions as needed — yeah, no more spoiled spinach in the fridge. Spinach is one of those super foods, yet adds little to spoil the sweet fruit flavor. Thanks Jason Quinn for this great idea!)
1 handful of frozen blueberries (I personally like the flavor better of straight blueberries compared to the Tri-berries blend I previously eat.)
1/2 cup of soy milk (I used to use plain yoghurt but have switched due to my vegan tendencies of late)
Put all of the above in a blender and mix. *Then add…
1 scoop of protein powder (soy isolate preferred or sometimes I use whey, usually about 20-25 grams of protein)
1 tablespoon each of cold rolled ground flax seed and wheat germ (I combine them in equal quantities ahead of time and keep them in a airtight container)
*I don’t put in the strawberries or ice initially as they tend to rattle around in the blender, making racket and straining blender (my “unbreakable” polycarbonate blender pitcher has a crack in it from placing frozen strawberries in as the first ingredient). I also don’t add the powder ingredients til the end, otherwise they end up at the bottom of the blender and are not consumed.
The Salt Lake Randomneurs (long distance cycling) information used to be on this blog, but I have finally moved it to it’s own site at this link. Regretfully all the comments didn’t make the move, but are archived if.